Skylum Airmagic review
Skylum Airmagic review
Introduction
In line with Photolemur (latest review here), Skylum Airmagic is a ‘one-click’ automated photo enhancer, this time for your drone and aerial images. Airmagic uses an artificial intelligence (AI) engine that has been fed thousands of drone images and knows more or less what corrections need to be done in order to make stunning images from aerial photography. Machine learning is now a prominent factor in a lot of software, and although it can’t make your photos truly unique, it will make your drone images stand out more with minimal effort.
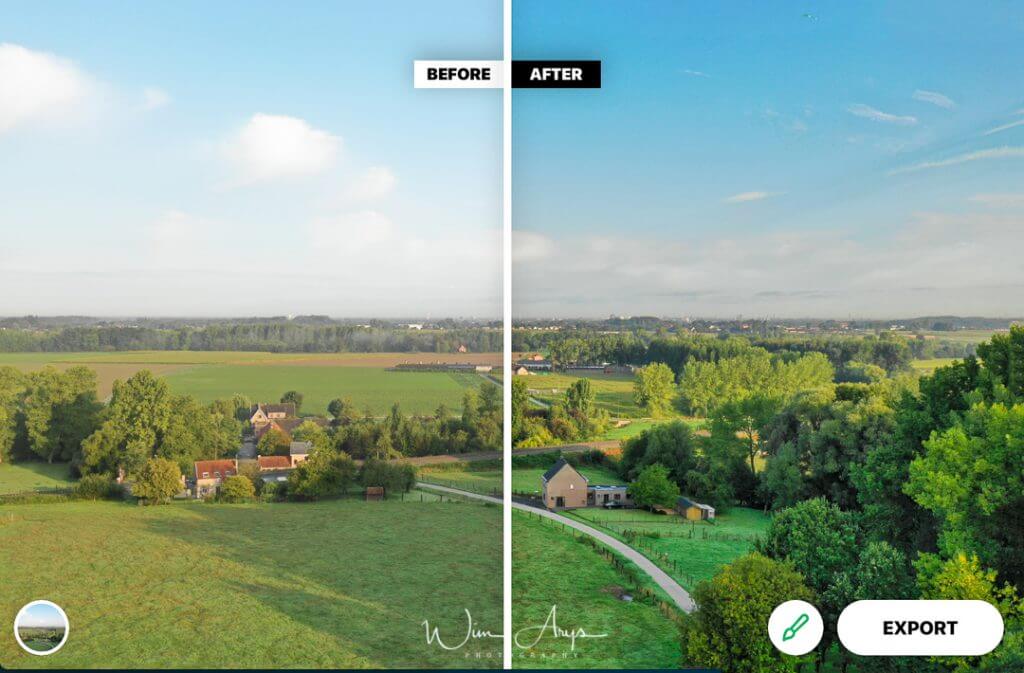
Airmagic interface
The Airmagic interface is easy enough to work with, you simply can drag and drop files or use the ‘open more’ command on top. All current drone manufacturers are supported (like Powervision, Kespry, Ehang, Parrot, Yuneec and of course DJi), including RAW files with the appropriate lens/sensor corrections. It’s of course also possible to enhance jpeg files if you prefer this format, at the expense of a bit of image quality as always.
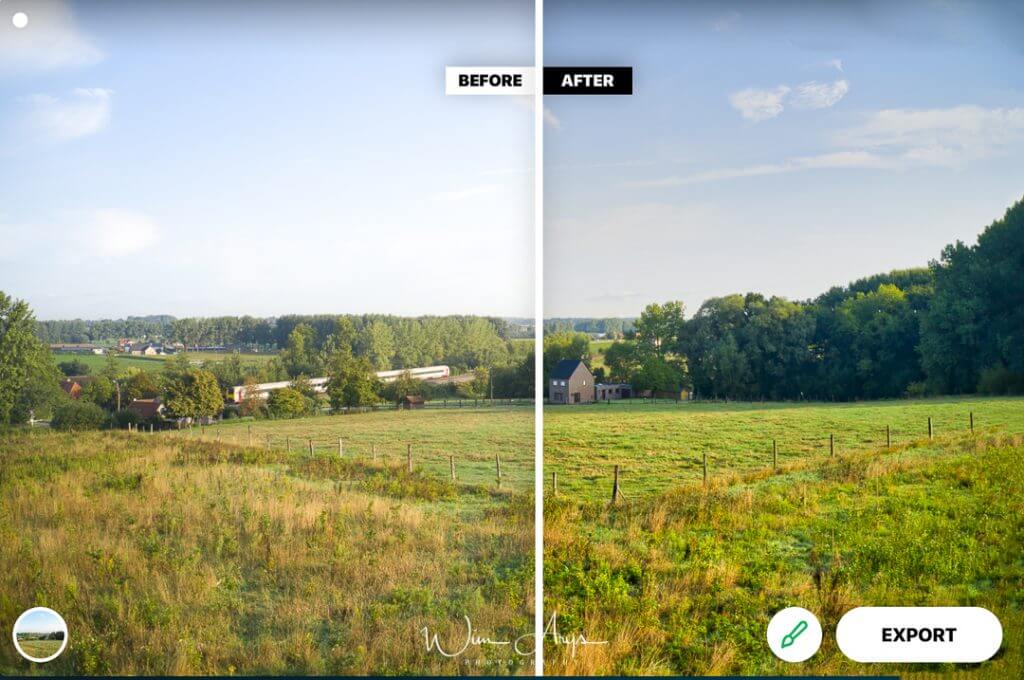
You’ll see an export button on the lower right part of the screen. You can easily export to disk, email and even Smugmug. Export is also accessible through the main top menu, and files will of course be saved as Jpeg. Next to the export button; you’ll see a paintbrush. Clicking it will open a slider that allows you to dial in the the percentage of enhancement versus the original image. In my experience (with the DJI Mavic 2 Hasselblad) is that dialling the enhancements down to around 50-70% yielded the best results.

On the bottom left of the screen, you’ll find an icon that opens up the presets which are basically LUT based looks, but more on that later.
How Skylum Airmagic works
After you’ve dropped an image on the interface, Airmagic will go to work and analyse your particular photo. Besides judging exposure, contrast, color balance, saturation and perceived sharpness, it will determine where the sky is, if there is foliage in the picture and any other distinctive features. Now this is the point where the artificial intelligence will kick in and make some decisions for you. Perhaps the analysis of thousands of images has revealed that generally people like grass to appear more greener and skies more saturated than your sensor renders them. Or perhaps noise reduction needs to be applied after automatic sharpening.
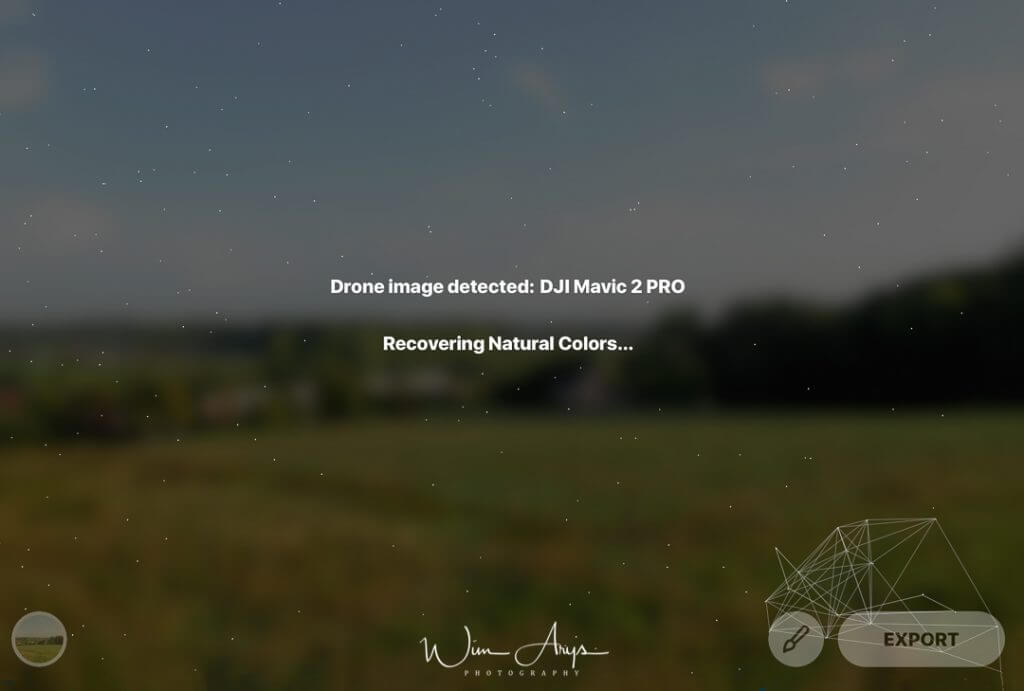
Airmagic can also detect and eliminate atmospheric haze which can hide important details and is very common in drone photos. And automatically adjust levels across midtones, highlights, and shadows to achieve deeper, richer colors for awe-inspiring results.
Airmagic styles
Besides these automated photo fixes and enhancements, Airmagic also currently offers 5 styles. You can see these styles as different looks for your images, like a LUT for colour corrections in movies.
Chinook Style
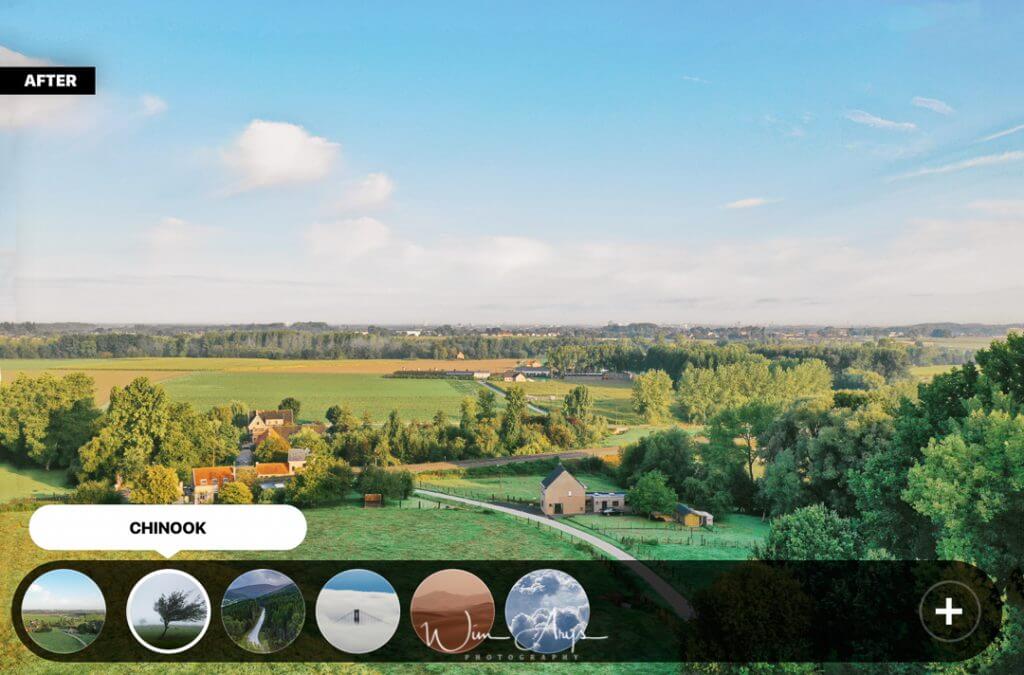
Chinook is one of my current favourite styles that adds some saturation and contrasts to your image without getting that over processed look you often see in drone images. remember to tone down the enhancements with the paintbrush slider on the bottom right to around 60%.
Cinematic Style
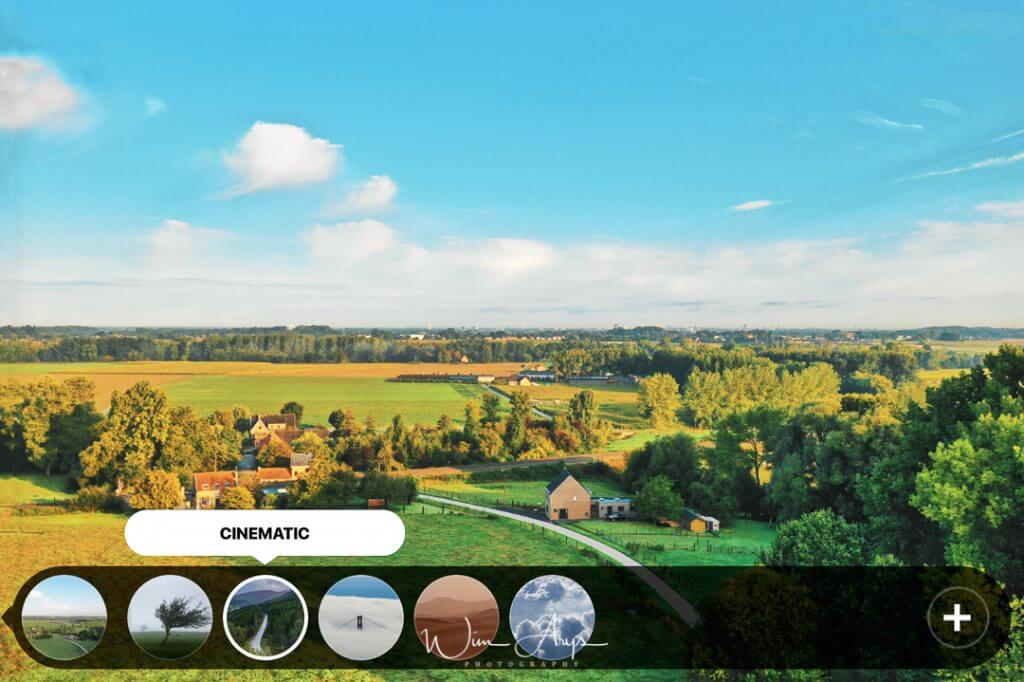
Cinematic transforms your image to a more teal and orange look, which is still popular in film grading. A pity that the colours can become a bit oversaturated with this look.
Emotional Style
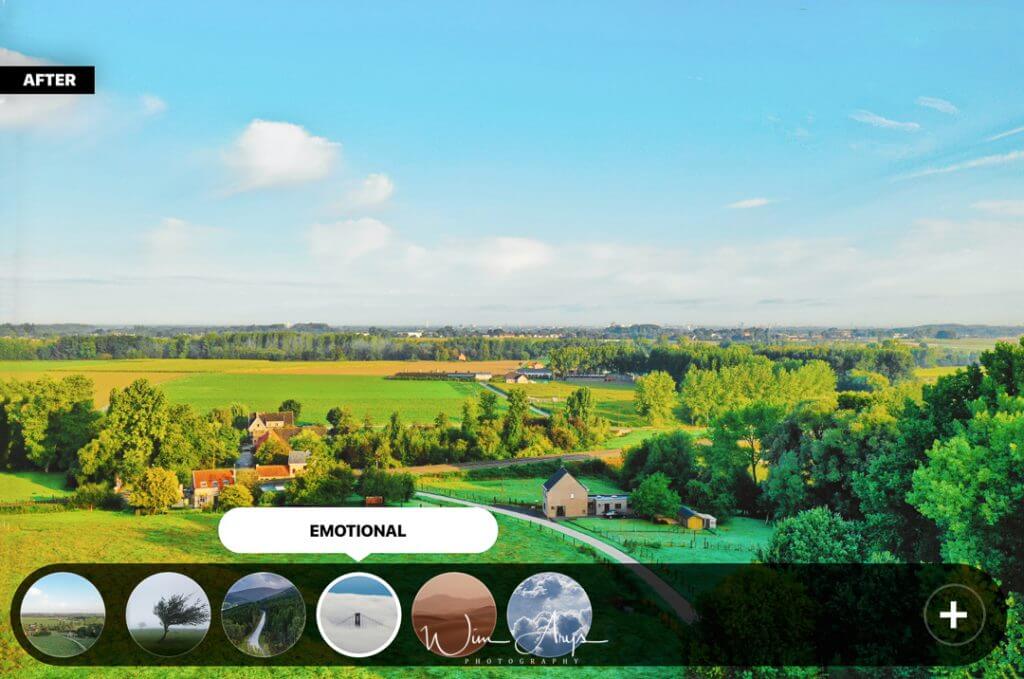
Perhaps better suited for seascapes or winter landcapes, the Emotional presets adds a lot of saturation and a slight green colour shift to your aerial photos. Not my personal favourite, but perhaps I just haven’t found the ideal photo match for it.
Sandstorm Style
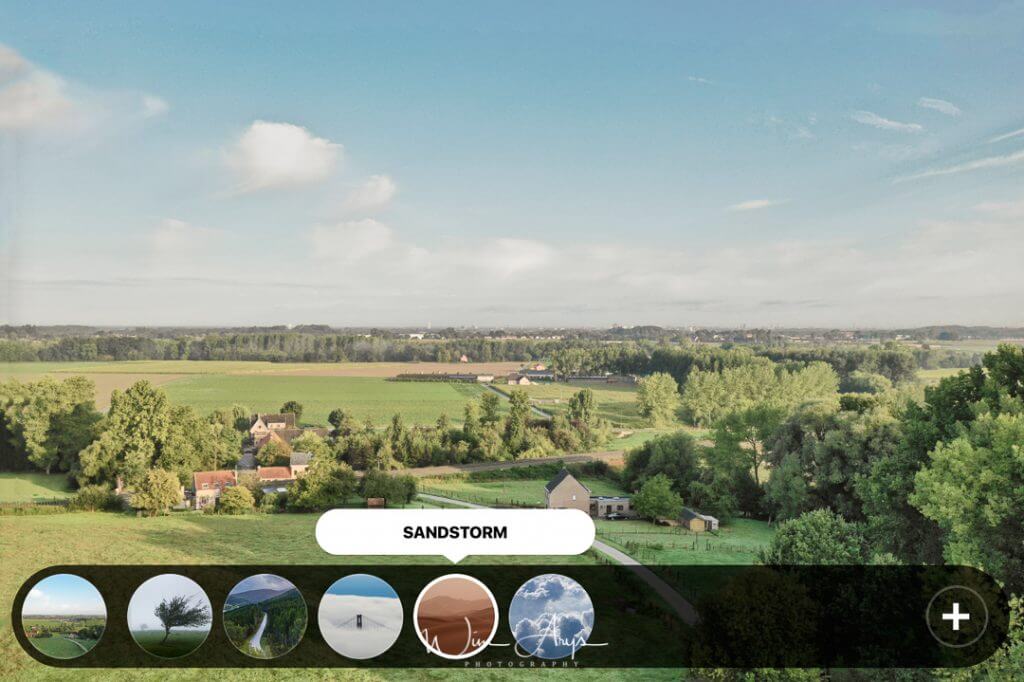
Sandstorms stays pretty close to the original image, perhaps even desaturating a bit while adding some more yellows to the greens and a bit of teal in the sky.
Zephyr Style
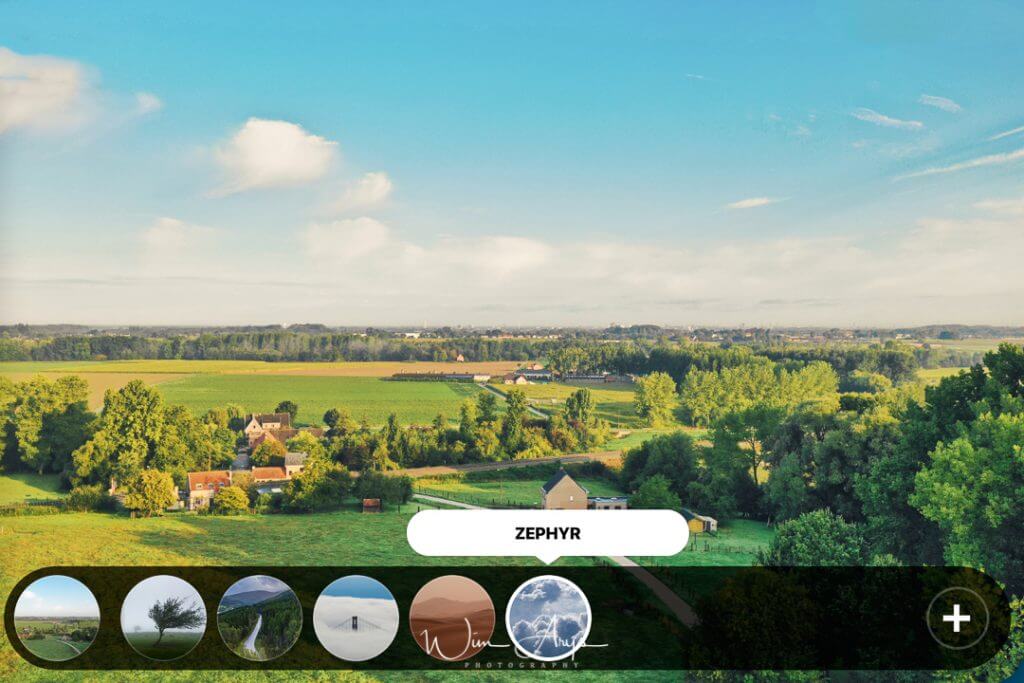
If you want to make your images glow like a precious gem, Zephyr will probably be your look of choice. It’s great for adding depth to the often flat drone photos as well as making the sky appear warmer.
Computer requirements
Airmagic works both as a standalone application as well as a plugin in Lightroom, Photoshop and even Apple photos. Since this is not a large or processor intensive app, a Mac from 2010 or newer with a minimum of 4GB of Ram and 4GB disk space will work well. If you’re a windows user, you’ll need Open GL 3.3 or later and a Intel® Core i3 or AMD Athlon® 64 processor with a 2 GHz or faster processor.
Conclusion
Skylum Airmagic is an interesting proposition for drone and aerial photographers. Thanks to the artificial intelligence engine with a database of thousands of drone images, this small and inexpensive app will make short work of batch processing your photos captured with any of the drone manufactures out there. Thanks to the RAW support, it’s not only possible to automatically enhance Jpeg, but also save them as TIFF for additional tweaks in Adobe Lightroom or Photoshop.
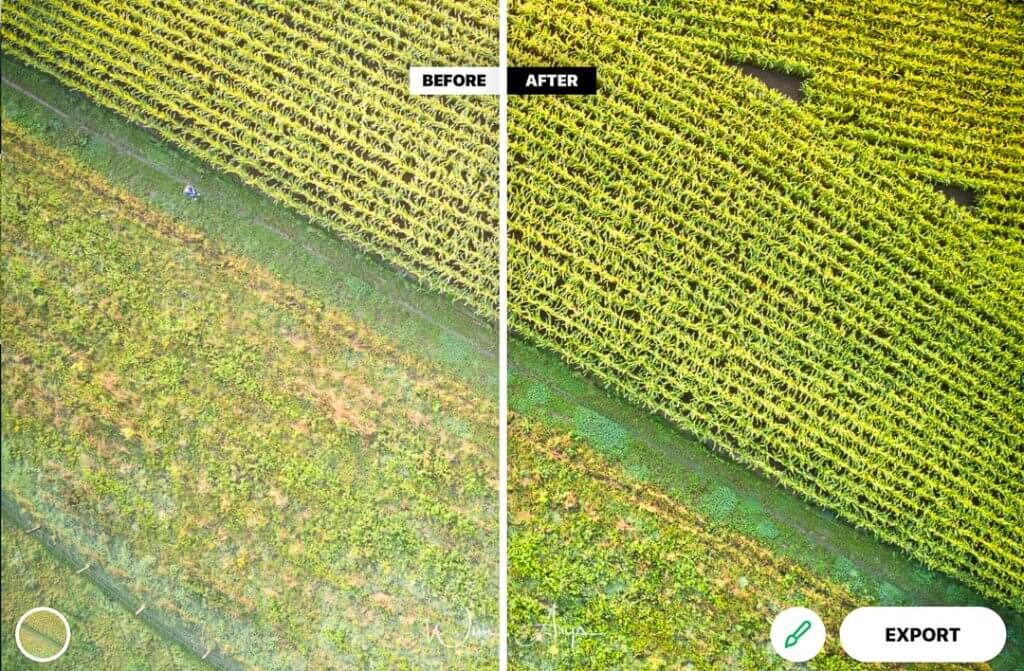
The Airmagic interface is simple enough for even a beginner as you can simply drag and drom your photos on the app. This image will then be analysed and automatically enhanced with added sharpness, clarity, depth and dehazing. It’s possible to tone down these enhancements (I do) with a simple slider as well as add a colour grade with the LUT based styles/ in the left hand corner.
If you’re looking for a one stop application to automatically and intelligently enhance your images, I would suggest taking a look at Skylum Airmagic. It(s the only application of it’s kind out there, and it does not cost an arm and a leg.
Purchase, coupon code and availability
Airmagic is now available for purchase from the Skylum website here. A basic licence costs 39 euro, the creative edition (including Premium styles) costs 41 Euro and the Business edition (with 5 licences) costs 89 Euro. You can use the coupon code “Wimarysphotography” for a 20% discount.


