On1 Photo RAW review
On1 Photo RAW review
Introduction
ON1 Photo RAW from OnOne Software might not be as well known as Adobe Photoshop, but has steadily been growing into a formidable photo editing suite in the last few years. The latest 8.5 update brings a significant improvement in the browser engine, which is now finally responsive enough to work in stand-alone mode.
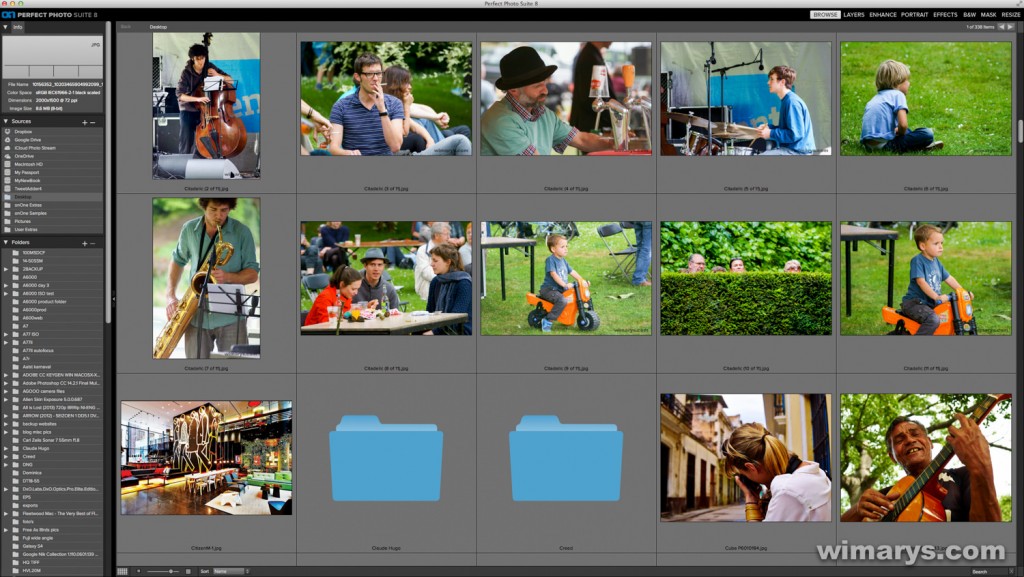
Although ON1 Photo RAW does support some RAW types, most of us will be using it as a plug-in from Adobe Lightroom or Apple Aperture. In Lightroom, it’s easy to find plug-ins when you right-click the mouse on a selected image. After this, you’ll get a dialogue where you can select the export settings. I choose to export a copy with adjustments, PSD, 16 bit and 300dpi), and the selected programme module will open for further processing.
Perfect Photo Suite consists of 8 modules including the browser module. Most of them are available as plug-ins from Lightroom except the layers and masking functions.
I’ll be going over all the modules in a series of posts as this is software suite is vast.
Perfect Effects module
The Perfect Effects module presets is divided into no less than 23 categories ranging from easy adjustment brushes and enhancers to cross processing, HDR styles and Vintage styles.
Filter Categories
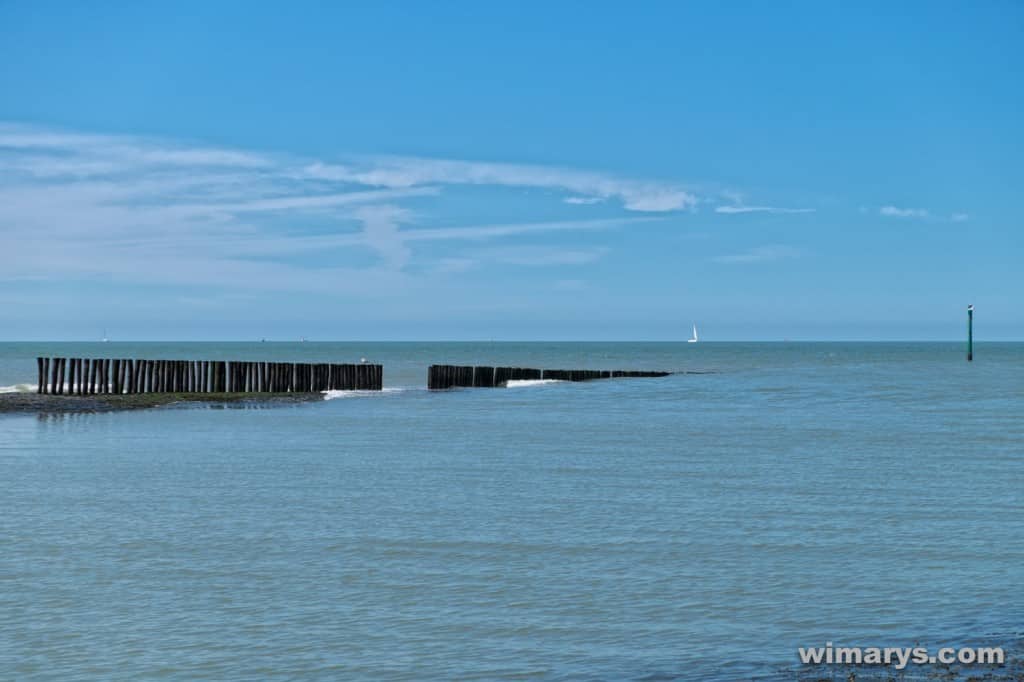
Adjustment Gradient
- The first category is called Adjustment Gradient. You can add more detail, vibrance, darken or lighten with nine customizable presets.
- Gradients are mainly used for landscape photography, where you’d want to apply different processing to the sky as opposed to the view.
- A user definable centre point (on your horizon) and a range of where the gradient fades in and out is set and brightness, contrast, compression, detail, warmth, vibrancy and glow can be further adjusted.
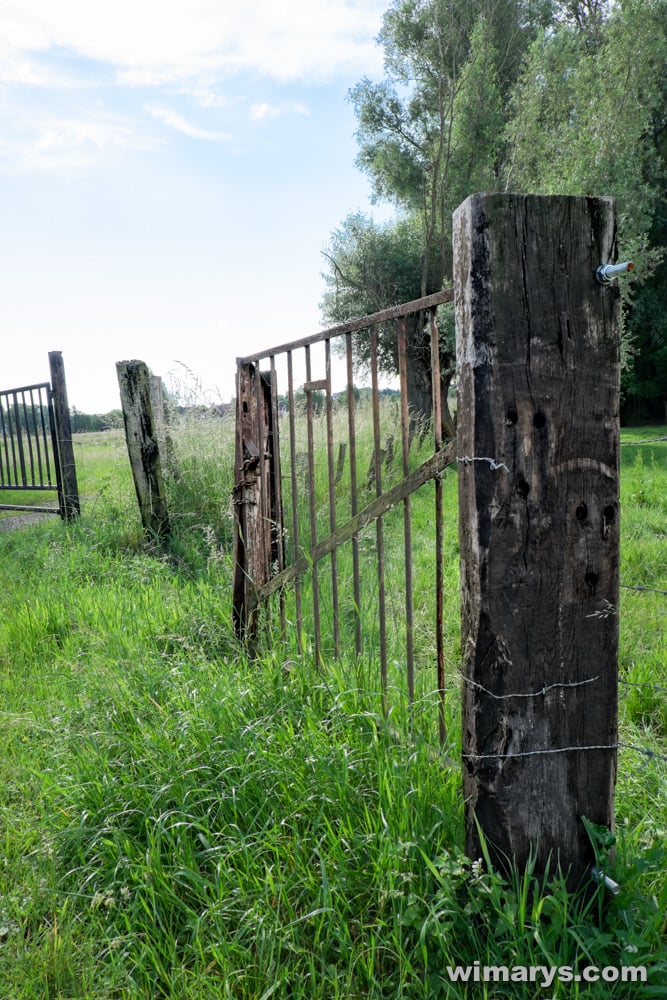
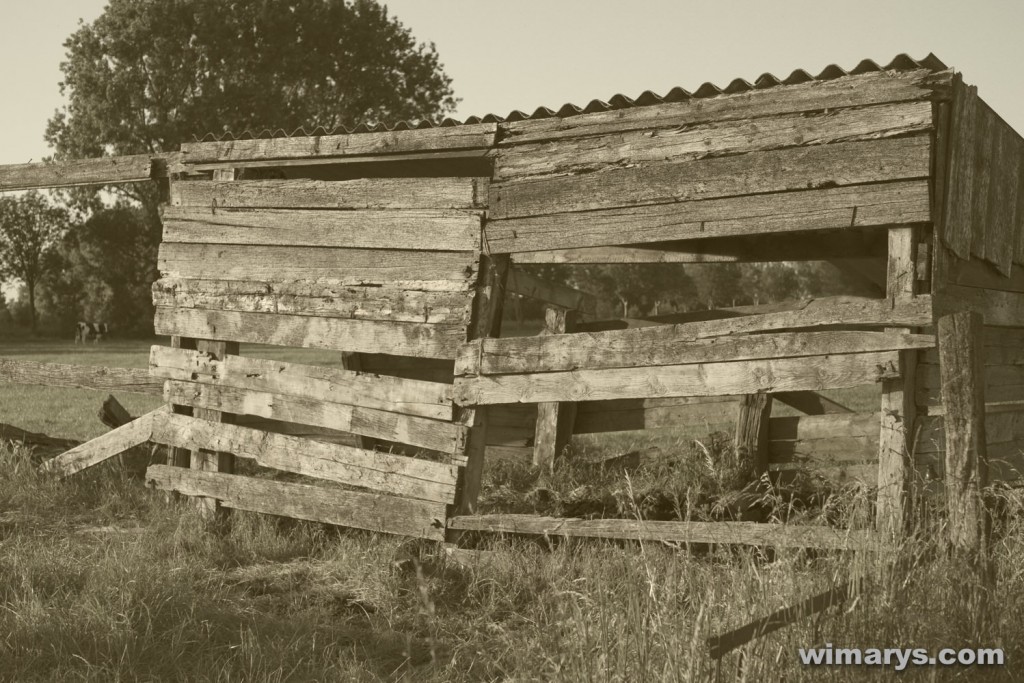
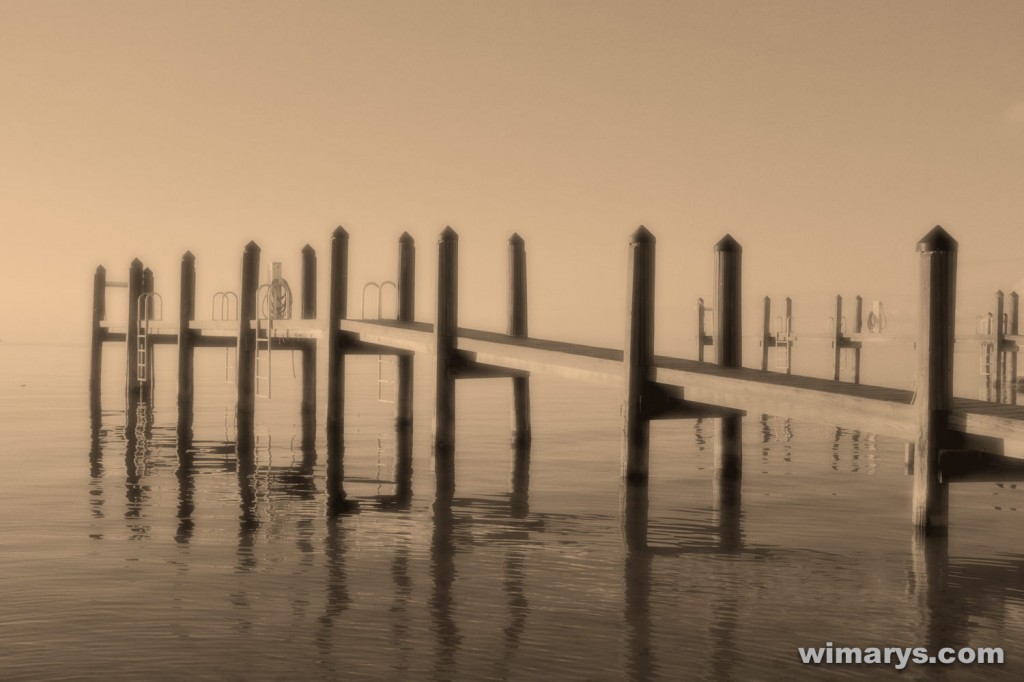
Adjustment Brush
- Adjustment Brush has the same functionality as the gradient presets, except here in the form of a brush.
- Useful if your horizon is more complex than a straight line, or you just want to apply an effect to certain parts of the scene.
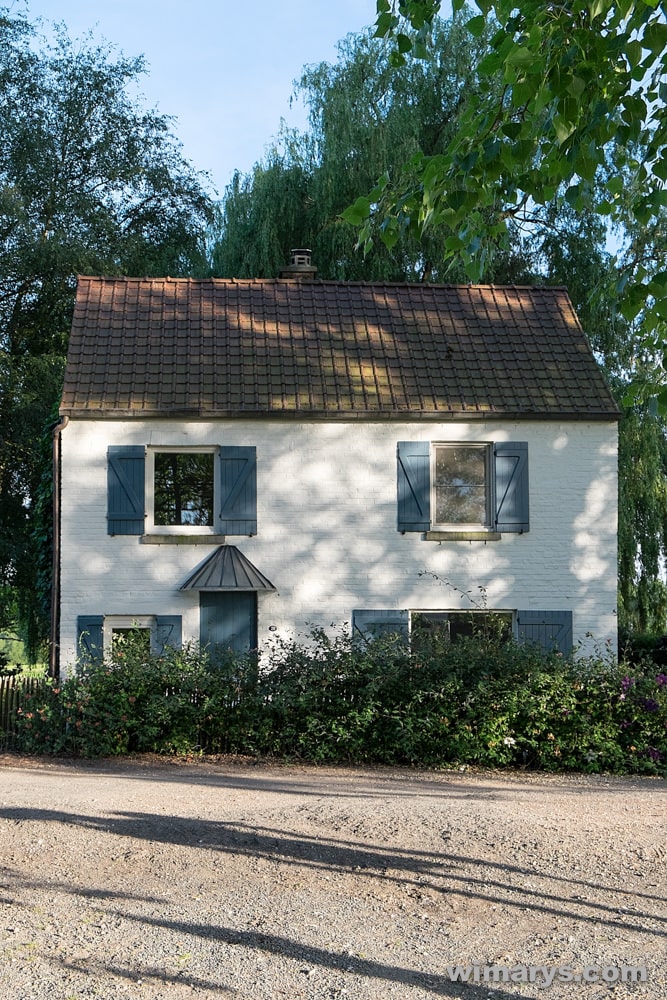
- In my example, I’ve recovered some highlights in the sky and used a HDR effect on the wooden fence.
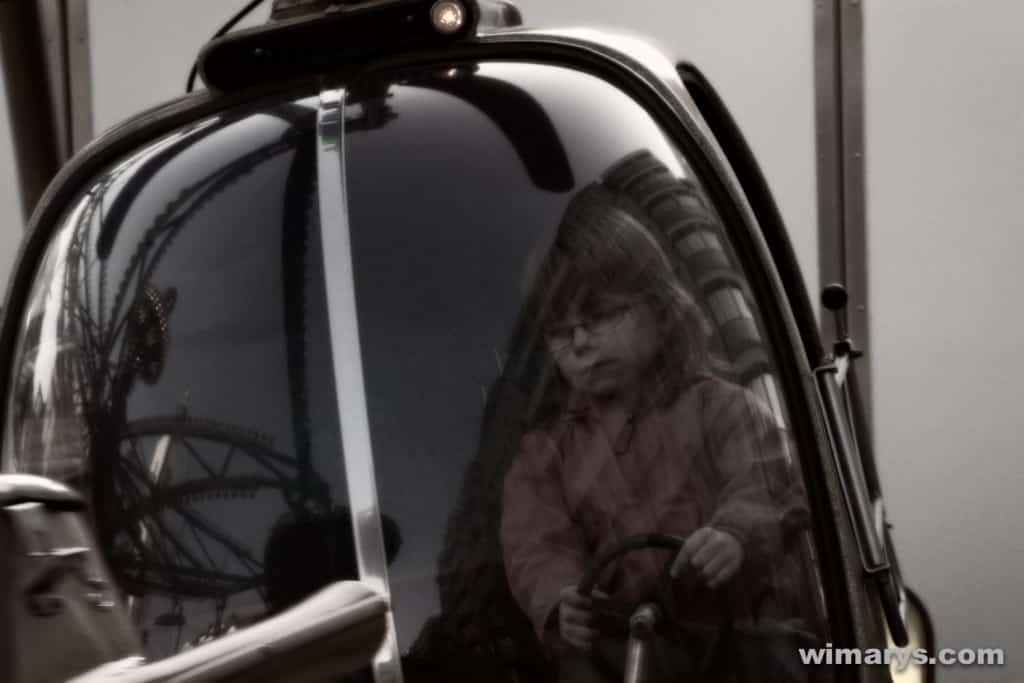
Antique
- The Antique presets feature a range of autochrome filters, which will add some age to your pictures.
- You can add some haze (fading) and grain of you want to go for a more realistic approach.
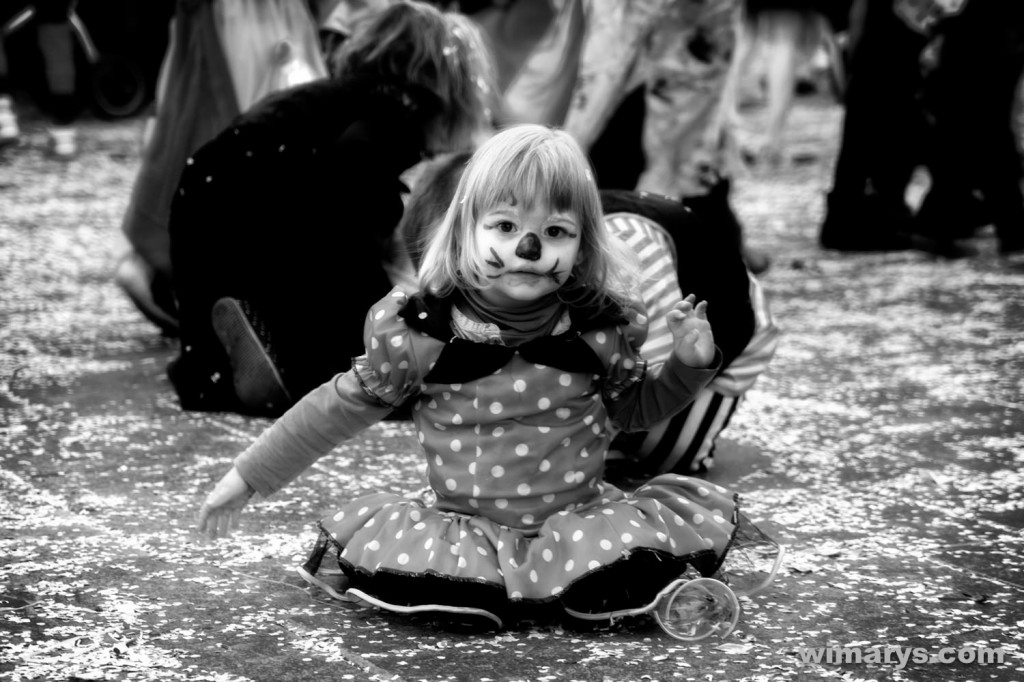
Black & White
- Black & White offers a range of colour to black and white conversions with colour adjustable filters.
- Detail, highlight, shadows and detail can be tweaked to your liking.
- The Perfect Effects module is a nice way of checking what would work on a particular image, but I prefer using the B&W module if you decide to go with a black and white conversion after going through the effects presets, it generates better results.
Bleach bypass
- Bleach bypass is a processing effect from colour film development, where the bleaching function was skipped during the processing stage.
- This resulted in a black and white image of a colour picture.
- Usually, the images would have reduced saturation and exposure and increased contrast and graininess.

Blur
- Blur is useful in some situations to emphasise your subject or create the feeling of motion.
- Normal, radial, motion and surface blur are selectable.
- A user-defined centre point with gradient up and down is used, and the amount, distance, angle and smoothing sliders allow for optimal tweak-ability.
Borders
- On1 Photo RAW has some nice borders, from clean and simple white or black to more retro looking Ground Glass and 8mm styles.
- All tastes and styles are catered for, and I often edit images in this module just for the borders, they’re that good.
- I usually set the size to 7, and a great feature is that you can adjust the size of your image in relation to the border, so in essence move the edge out of your picture frame.
Colour Enhancer
- Colour Enhancer is an excellent tool if you find your images to be a bit dull, or you just want to boost the colours in a scene.
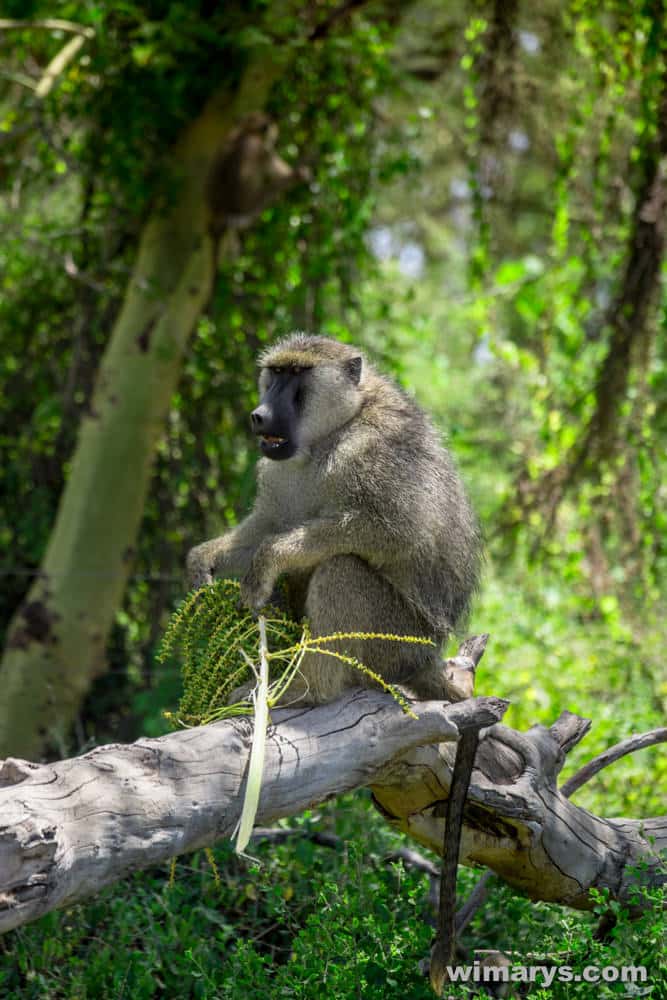
- This is a picture it took in the African savannah, where the mid-day sun and dust made my pictures turn out a bit flat, so I boosted the greens a bit using the supplied preset.
Cross Process
- Cross Process is the deliberate processing of photographic film in a chemical solution intended for a different type of film.
- Colour cross processed photographs often have unnatural colours and high contrast.
- Blue, green and yellow filters are available, with contrast and saturation sliders.
Dynamic contrast
- Dynamic contrast presets are a great toolbox for editing high contrast scenes.
- You can firstly choose primary natural, surreal or soft processing, and then select the amount of detail, highlights, shadows and whites/blacks.
Glow
- Glow, an effect mostly used it beauty shots, adds a dreamy, glossy dimension to your images.
- I never like this effect, so I don’t use it.
Grunge
- Grunge adds some dirt for those of us who are more into creative picture editing.
- It’s like a dirty version of a HDR look, with exaggerated edges and details.
HDR look
- HDR look: High-dynamic-range pictures are achieved by capturing multiple images using exposure bracketing, and then merging them into an HDR image.
- The HDR presets try to reach a similar result be recovering shadows/darks and underexposing highlights.
- How well this works depends much on your, camera, and it’s dynamic range.

Lens Blur
- Lens Blur gives tilt-shift and Bokeh style effects with the now familiar customizable centre line and top/bottom gradients.
- I never like any of these effects, and don’t see any use for them. But perhaps it might suit you.
Photo Filter
- Four different filter types are available in the Photo Filter presets Solid, Graduated, Bi-Color and Center.
- The filter colour is selectable, and saturation and polariser sliders are provided. These can be useful if your images are screaming out for some warming, for some warming, although there are many other ways of achieving this.
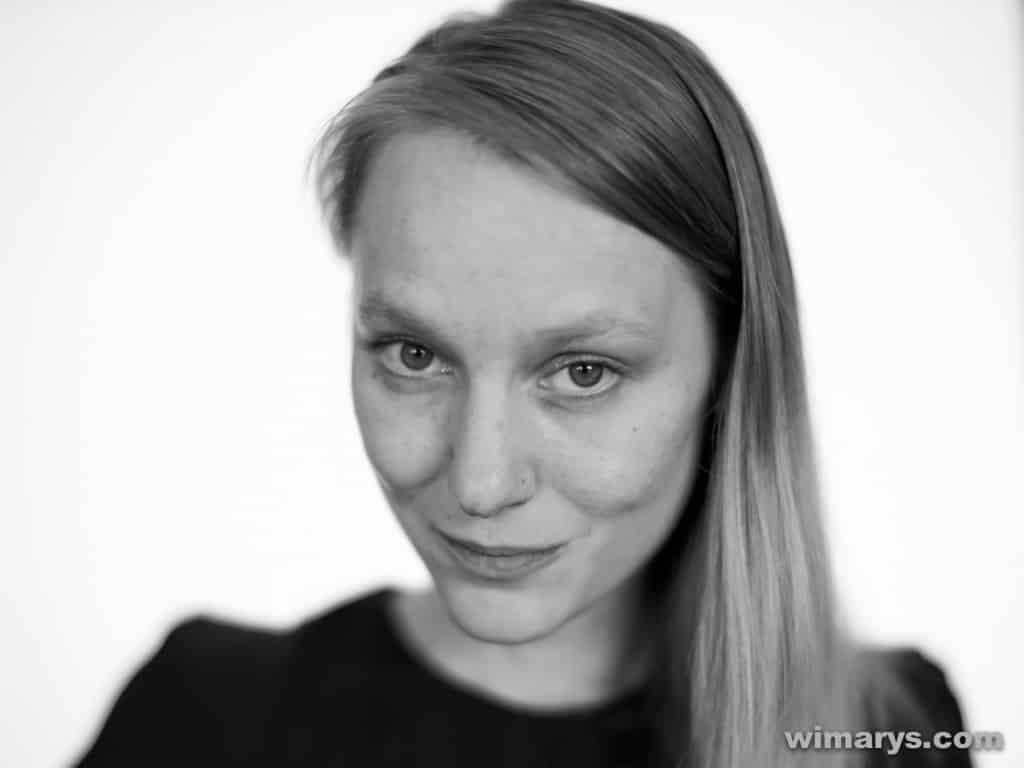
Portrait Enhancer
- Portrait Enhancer is a basic tool for removing blemishes, shine and adjusting skin colour on faces.
- If you want to get into portrait editing, go straight to the portrait module. But for a quick fix, this might suit your needs.
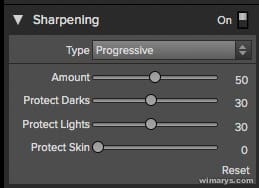
Sharpening
- Sharpening: On1 Photo RAW has a decent fix focus sharpening engine but don’t expect any miracles here.
- It does an excellent job of finding hidden detail in your images, or if you want to apply some sharpening before going to print.
- Be careful though, as too much sharpening does not look pleasing at all.
Split tone
- Split tone is the process of adding colour into either the shadows or the highlights of a photo or both.
- Blue-orange, blue-yellow, green yellow and red-cyan combinations are available, with amount and balance sliders.
Sunshine
- The Sunshine presets: nice to use on your tropical destination holiday pics, adding some warmth, glow and radiance to further enhance the scene.
- Neutral, strong and glow variants are available
- Amount, warmth, saturation and glow can be fine-tuned with sliders
Texturizer
- Texturizer adds some interesting and unique textured layers.
- These are for the more creative photographer, and compliment the aged presets well.
- You can choose from about 2 dozen categories, each having a selection of textures.
- All have opacity, hue, saturation brightness and scale sliders.
Tone Enhancer
- Tone Enhancer has a range of contrast and clarity presets
- allows for easy fixes in images with contrast issues
- Brightness, contrast, shadow/highlights, compression, levels and detail sliders
Vignette
- Vignette is a reduction of an image’s brightness and/or saturation at the periphery compared to the image center
- pulls viewers attention towards the center of the image
- brightness, size, feather and roundness can be adjusted
Vintage
- Vintage presets allow for some colour processing to achieve 1960-1970’s style pictures
- 4 main filter presets: Blue-yellow, cool, red-yellow and warm filters
- amount and saturation sliders provide further control
- film grain can be added to make a more realistic emulation
Presets
On1 Photo RAWs Perfect Effects module has much of the functionality of the other modules, but in a simplified version. It is a very handy module to go to if you don’t really know what the problem is in you image, and just flip through the presets until you find one that generates the best results. In the next tab, called presets, you can find interesting combinations of these filters that OnOne software has made for you. These presets are also highly customisable, and are often a nice starting point for creative picture editing. The Grunge and Landscape presets are 2 of my personal favourites, but I find many others fast and useful.
B&W module
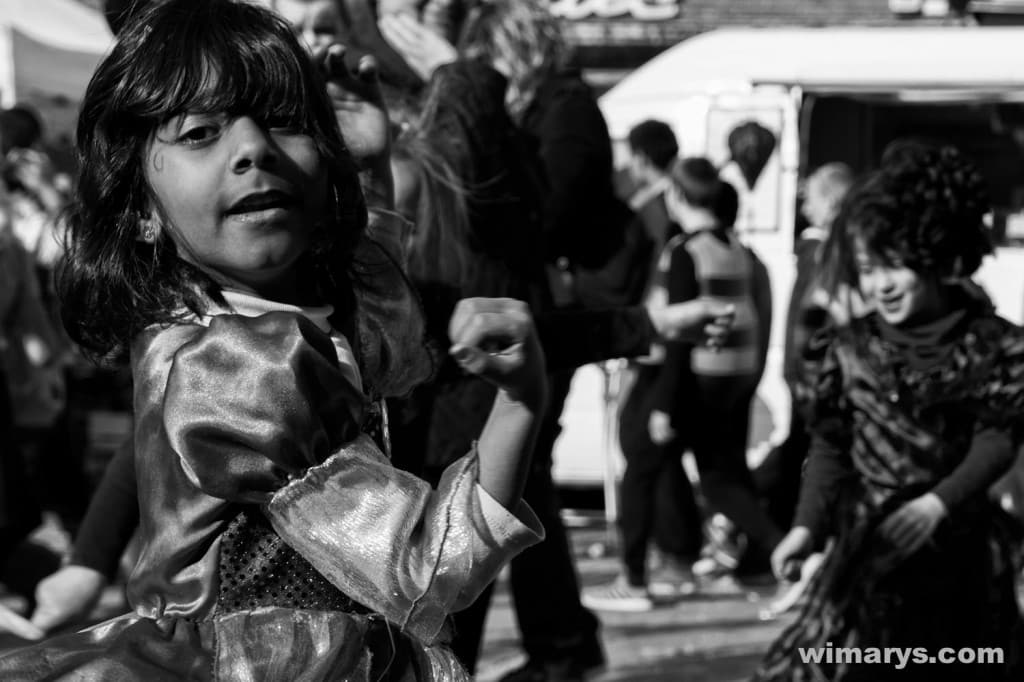
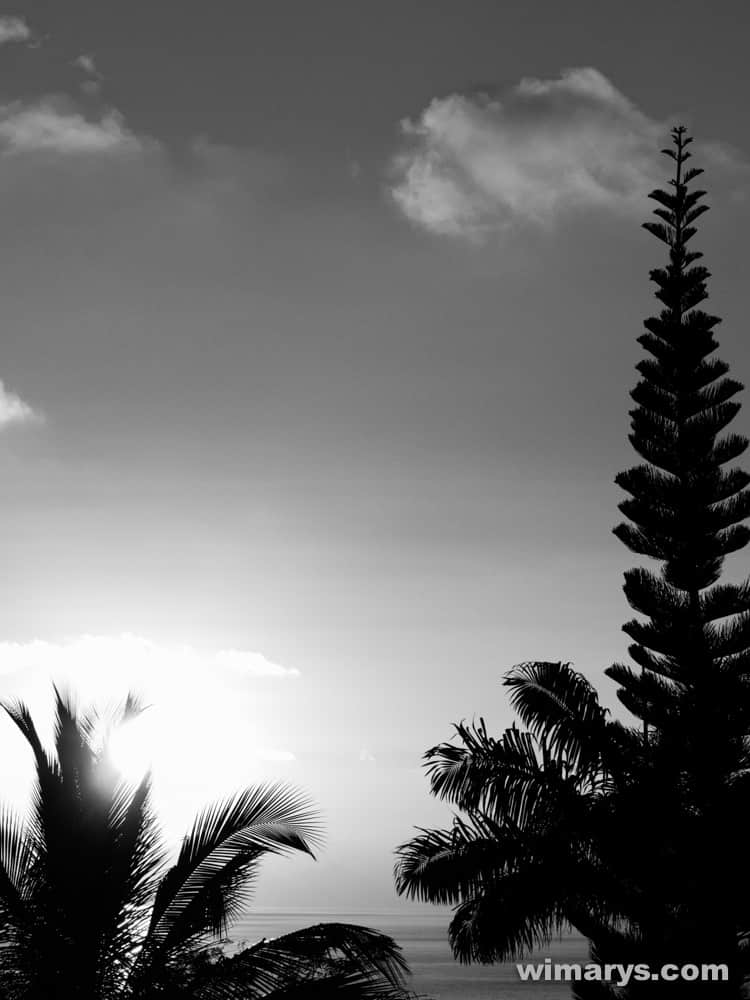
The Black and White module presets are divided into eight categories ranging from early film to modern emulations and some more creative styles.
Different preset categories
The first group is called Basic Fundamentals. Here you’ll find some basic colour to black and white conversions, including coloured filters that let you control how tones are converted to shades of grey.
In 19th century presets, you can find a range of filters and borders that emulate the earliest cameras and printing techniques. Personally, not my cup of tea, but they are excellent none the less if you need to emulate weathered pictures from that era for some reason.
The 20th-century classic silver collection moves us to the hay-days of black and white photography. This set contains a extensive collection of emulations from iconic photographers of the 20th century, and also many suitable borders to choose from.
21st Century Modern has some presets that emulate what you’d see in an art gallery down the street. While none of these emulations are intended to be exact copies of a particular type of film or developing procedure, they do often give beautiful results.
High-Speed Documentary had a more edgy feel, intended to look like prints from vintage film frames. I haven’t found much use for this selection, but different users have different needs so it might suit your style.

Hint Of colour reduces the amount of pigments up to the point where it’s almost black and white.
Hollywood portrait is based on the glamorous portrait photography of the 1930’s. Think of the pictures you know of Humphrey Bogart, Marlene Dietrich, Ingrid Bergman…
True film is Perfect Photo Suite’s attempt to emulate the most highly regarded Fuji, Kodak and Ilford films. There are better emulations out there, like DXO’s Perfect Film pack or VSCO’s presets for Lightroom. But these are good starting points if you have a film in mind that you love and expand on it using the customizable settings.
Customization and tweaks
All presets are customizable in the right-hand window.
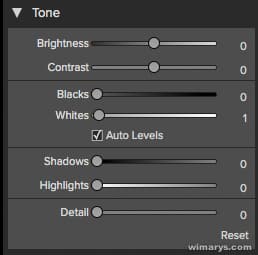
Tone: brightness and contrast, blacks and whites, shadow, highlights and details all have dedicated sliders for fine tuning your black and white conversion.
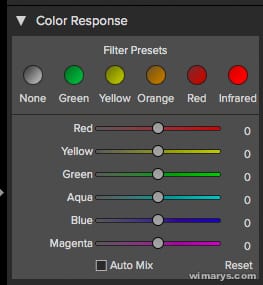
Colour response: As discussed earlier, this module allows for further adjustment on red, yellow, green, aqua, blue and magenta how are converted to greyscale.
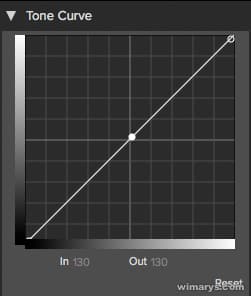
Tone Curve: this allows for an easy multi-point vector style adjustment of blacks and whites
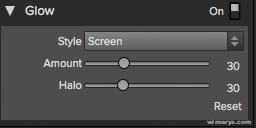
Glow: this module will already be turned on in some presets, but is still fully customisable if you want to add or change the amount and halo of the glow or blur effect
Film Grain: film grain is a good way of adding depth and grit to your pictures. A large selection of modelled grain from Fuji, Agfa and Ilford film is available, as well as an amount and size slider.
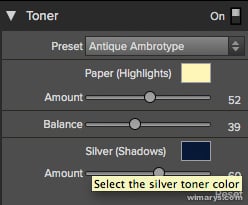
Toner: is good for aged film effects. You can choose different preset ageing method, number and balance. There is also a colour selectable slider for shadows
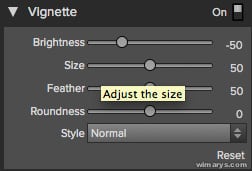
Vignette: a vignette is a good way of highlighting your subject in photography, a bit like putting a spot on something. Brightness, size, feather and roundness all have their slider. There is also a choice between subtle and typical.
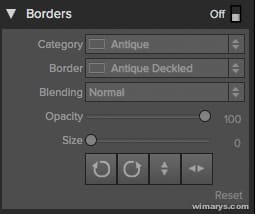
Borders: I like to use borders, but I hate the fact that there is no easy way of adding edges in Lightroom. Not so in Perfect photo suite, lots and lots of borders available. I tend to set the size always at 7, looks best that way.
Sharpening: PFS has a nice sharpening algorithm
Blending: you can blend between the original image and the black and white image
Next time, we’ll be looking at the Perfect Photo Suite Effects engine. This module features colour filters and effects that are easy to use and give character to your images.