Photo Ninja 1.2.4 review
Introduction and basic features
Photo Ninja is a RAW image converter from software developer Picture Code. It uses proprietary demosaicing processes to give your images a distinctive look. It’s fair to say that, unlike most other RAW converters, Photo Ninja focusses more on visible perception and less on technical accuracy.
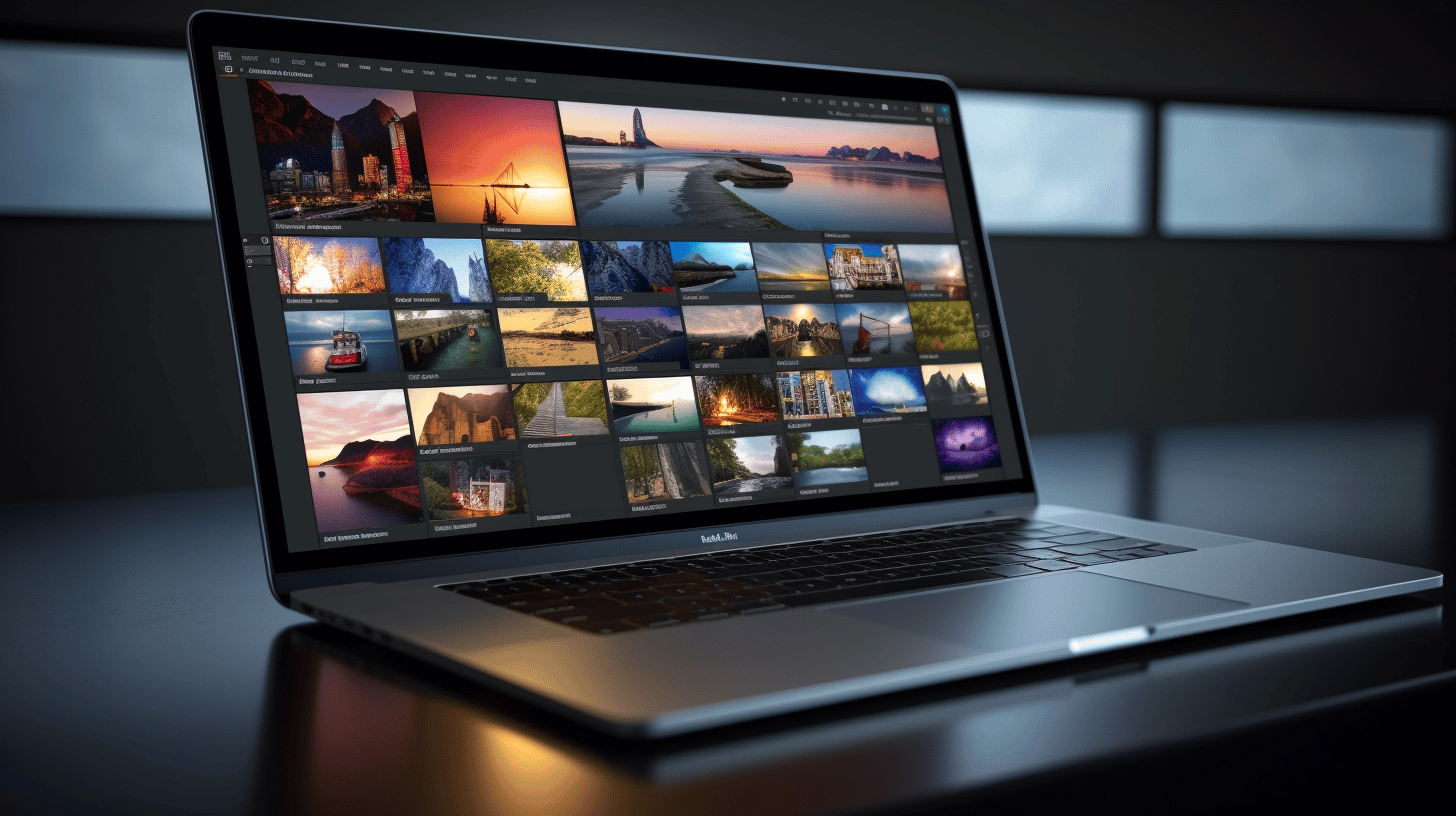
This software application has an integrated browser for navigating through folders and opening images. It works directly with the file system, so you don’t need to import your images into a catalog or library.
There are some things that Photo Ninja is good at, and others where I’d say it’s as good as any other RAW developer. The latter include:
- Automatic overexposure compensation: reconstruction of missing data in overexposed areas.
- Adaptive lighting: A feature set you’ll find in all RAW developers. You can brighten shadows, turn down highlights, and change contrast. Photo Ninja includes an efficient adaptive lighting engine that can pull detail from shadows, overcome backlighting, tame aggressive highlights, and compress excessive contrast. This without flattening detail or halo artifacts.
- Detail enhancement: boosts or smooths micro-contrast in an image. The effect can quickly look over-processed, so be careful with this slider. You can also set it to negative amounts, for a smoothing effect in portraits
- Black and White conversion: create monochrome images from inside the RAW editor. The base conversions simulate the use of color filters in traditional black-and-white film. There is also hue-specific control for fine tuning that uses varying the relative lightness of particular color ranges. Split-tone colorization can map shadows to one color and highlights to another, with blended colors for intermediate tones. Subtle split toning can be useful for warming or cooling an image or improving separation of elements.
- Color correction: Photo Ninja includes simple controls for setting the white balance in an image.It utilizes the light source profiles to improve the overall accuracy of colors. Built-in daylight profiles are available for a large number of cameras but are in need improvement in my opinion. You can photograph a ColorChecker reference chart and use the profiling facility to create a custom light source profile quickly.
- Chromatic aberration correction: Photo Ninja can remove color fringing due to lateral chromatic aberration (LCA). In most cases, Photo Ninja can accurately measure and correct LCA without user intervention and with excellent results. Significantly, for RAW images, Photo Ninja fixes LCA prior to demosaicing before the aberration is smeared across channels by demosaicing, color correction and other processing. The resulting improvement is striking compared to post-demosaicing correction. The technology is powerful enough to remove complex, nonlinear LCA that is exhibited by some modern lenses. Note that LCA is only one cause of color fringing in digital images. Longitudinal CA and so-called “purple-fringing“ have different causes. This app also includes a general-purpose “Defringe” tool in the noise reduction filter that can help with these types of fringing. I’m mainly processing mirror-less sensors and was somewhat disappointed with these auto corrections. I hear there is a new version in the pipeline and hope this will be improved.
- Distortion correction: For architecture or landscapes where lines need to be straight, this RAW converter offers lens correction filter that can repair the complex distortion typical of modern zoom and wide-angle lenses. Currently, it does not support auto corrections embedded in RAW data, which is disappointing. The current correction model is mathematically derived from optics theory, and it is powerful enough to correct combined fisheye, pincushion/barrel, and “mustache” distortion. The alignment tool allows you to place several points along an edge that is supposed to be straight, and Photo Ninja automatically calculates the optimal correction settings.
I’ll now go over the features where I think Photo Ninja excels.
Demosaicing
One of the most important steps in raw conversion is converting RAW sensor data to full-color RGB pixels. This process is called demosaicing. Photo Ninja uses a proprietary demosaicing algorithm that delivers a unique ‘look’ with few digital artifacts.
If your camera is fully supported, three modes are available. The standard algorithm is suitable for most cameras with an antialiasing filter. The moderate and enhanced methods are reserved for cameras with weak or missing antialiasing filters like the Fujifilm X series. It is slower, but in many cases reduces directional artifacts and moire patterns that would otherwise result because of the lack of antialiasing.
Sharpening
Most conventional sharpening methods are based on the “unsharp mask” process. This method subtracts a slightly blurred copy from the original image, creating more defined edges. Photo Ninja created a deblurring algorithm that mathematically reverses mild amounts of blurring using more sophisticated processing.
As you can see in my examples, the result can be impressive. You can restore and enhance fine detail without any artifacts. The sharpening tab also has a noise reduction filter that allows you to sharpen edges without adding noise to smooth areas.
This combination of sharpening and noise reduction is another example of how Photo Ninja works in creating and overall better-perceived image. It’s not just taking care of the problem you’re addressing in that tab; all of the RAW corrections and tweaks work together to make a sharper and better-looking photo.
Three simple sliders are available: Sharpening Strength, Sharpening Radius, and Noise Masking.
Sharpening Strength is quite self-explanatory and signifies the amount of sharpening applied. The Sharpening Radius slider determines the width of the blur that the algorithm attempts to reverse. A setting of 0.5 to 0.7 is usually appropriate for raw images, but you might want to use smaller values with Fuji RAF files. A wider radius can sometimes help if the image is slightly out of focus. The Noise Masking slider is only active when luminance noise reduction is enabled in the main window. It controls the amount of sharpening masking by the noise reduction filter. The noise reduction filter and the sharpening filter work together so that sharpening is applied to edges while avoiding smooth areas where noise could be amplified.
Noise Ninja 3
Noise Ninja has been a highly regarded de-noising algorithm since the first version back in 2003. This technology has been licensed to medical equipment, semiconductor, and camera manufacturers. Picture Code expanded on their knowledge to develop a completely new noise reduction algorithm.
It features an improved tradeoff between noise suppression and detail preservation, better treatment of color, and more natural smoothing of contoured areas. Luminance noise reduction also works together with sharpening so that edges are sharpened while smooth areas are avoided.
Color Enhancement
Photo Ninja offers simple yet effective tools for enhancing color. You’ll find some nice built-in color styles that generate eye-pleasing results. The default “Portrait” color style has been carefully designed to yield vivid overall color while avoiding oversaturation of skin tones.

Adjustments are calculated in a perceptual color space for more natural results. Hue-specific color controls allow targeting of specific color ranges with hue, saturation, and lightness adjustments, so you can easily override the base color styles or create new ones. A unique Hue Affinity feature can improve consistency of “memory colors” in the presence of mild color deviations.
Conclusion
Photo Ninja can generate some fantastic results if used correctly. I’d even go as far as to say that when it comes to sharpening, toning and noise reduction, some things can only be done to this degree in Photo Ninja. The most important thing to remember is that you’ll get the best end results when using the different modules together, going back and forth to fine tweak your images and find the right balance. It offers a different flavor of RAW conversion than Lightroom, Iridient, Capture One or DXO Optics Pro does.
Whilst it is not the most flexible RAW developer out there, it does offer a different flavor of RAW conversion than Lightroom, Iridient, Capture One or DXO Optics Pro does. I find it’s strong points are sharpening and noise reduction that work flawlessly together to render realistic-looking sharper and smooth images, even at higher ISO’s.
I would suggest trying a demo to see if this flavor is something you like or not.


It doesn’t support scaling so this software is useless on any UHD screen. Asked support and an update to support UHD screens is not to be expected any time soon. That was quite disappointing since Lightroom supports scaling and so does Photoshop.
I have found no issues with this on my iMac, but thanks for pointing this out for windows users.
I use it just fine on my 4k monitor and Windows 10 so not sure what he is complaining about.
Thanks for your input Gabriel. I’m on OSX so I have no way of checking on Windows 10, but it’s always best to download the latest version from the Picturecode website.
I tested v.1.3.3 of Photo Ninja today and am very pleased with the results I achieved without much tweaking at all, and without reading any tutorial. This may be premature, but I am almost inclined to say I’m getting “better” results than I have been able to achieve in Lightroom. OK, maybe better isn’t completely accurate, but the results (as Wim also noticed) are “different” than a Lightroom conversion, and I like them. I don’t see how any seasoned photographer would be disappointed in Photo Ninja, especially since it’s workflow is refreshing simple, and that helps to get the job done faster.
Hi Mike, I still use Photo Ninja on a daily basis from lightroom. (export as TIFF, PhotoNinja loads the RAW automatically and overwrites the TIFF in LR).