
Macphun Luminar review
Introduction
Getting the best performance out of a modern camera often involves at least some advanced processing. Shooting RAW and processing these files on your powerful Mac or PC does have many advantages over letting your camera’s processor make important decisions for you. Photo editors like Lightroom and Capture One are most known, but if you look hard enough, you can find a hidden gem here and there that actually rivals or even gets better results in some ways.
In comes Macphun Luminar, an advanced photo editor that I would describe as being somewhere between Lightroom and Photoshop in terms of functionality. I’ll be having a look at the features and functionality of this image editing software in this Luminar review.
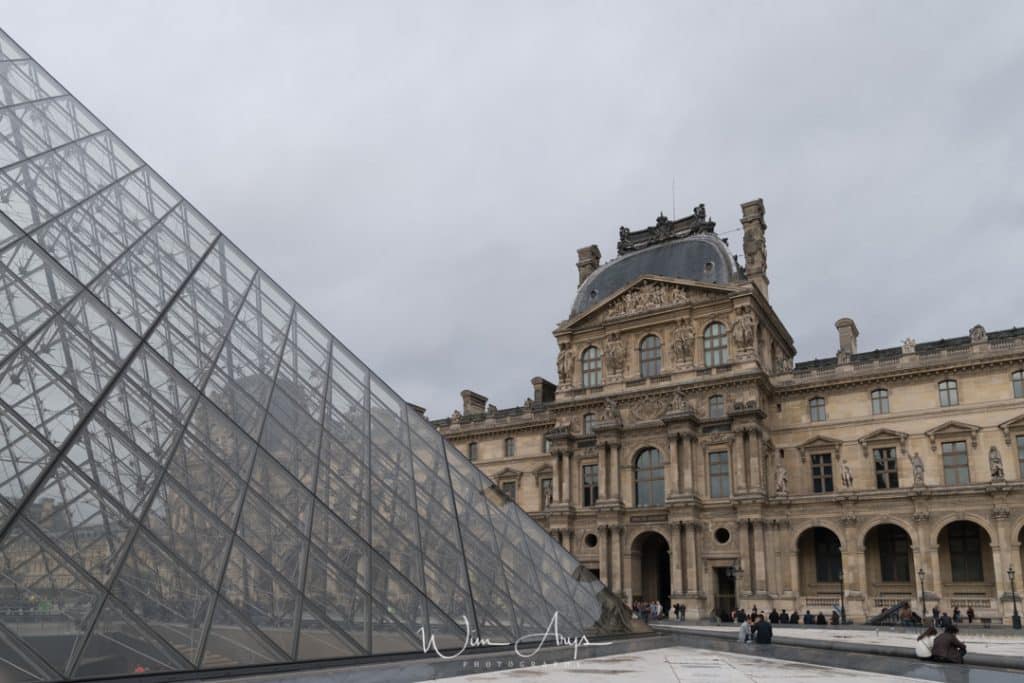
Louvre, original RAW
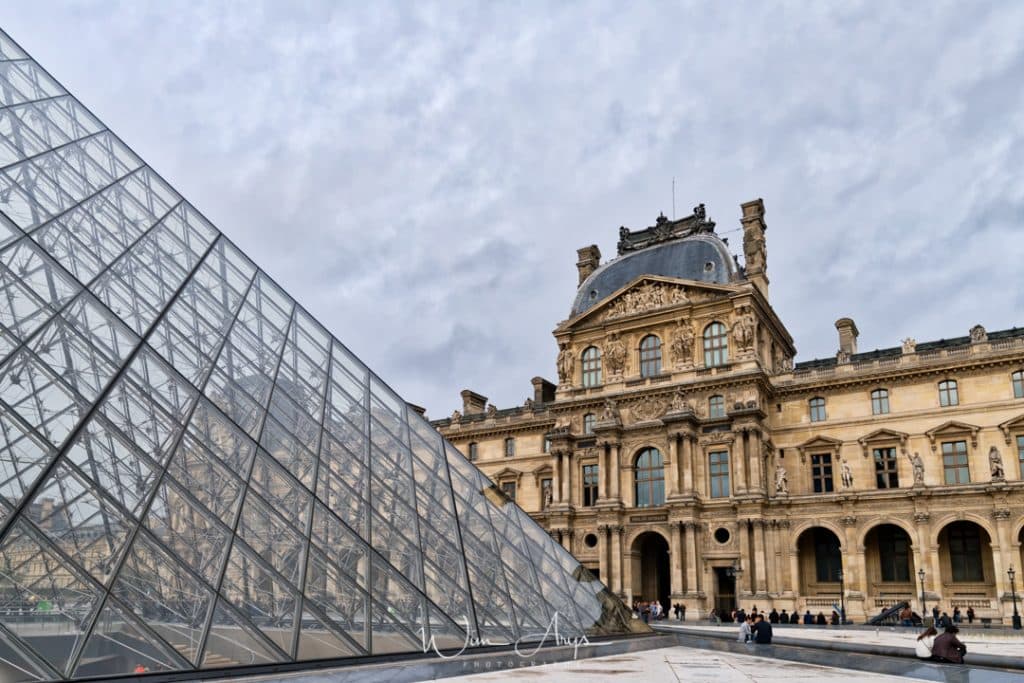
Louvre, processed in Luminar
Feature list
Let’s have a brief look at what I see as the most important features of Macphun Luminar:
- Adaptive user interface: change the interface to show only what you find important.
- Nondestructive editing workflow: your image is not altered.
- Support for layers and masking: it’s like using the best editing features from Lightroom and Photoshop together.
- A vast array of easy to understand filters: from basic functionality like exposure/contrast, highlight/shadow adjustment, and Black/White point all the way to fog and golden hour filters.
- Object removal: easily remove unwanted objects in your image.
- Support for Mac touch bar.
- RAW support: Drag and drop the contents of your SD card on your computer and start editing immediately.
- Can be used as a stand-alone editor or as a plug-in for Lightroom or Photoshop.
- Batch Processing: create your own preset and quickly process a batch of images.
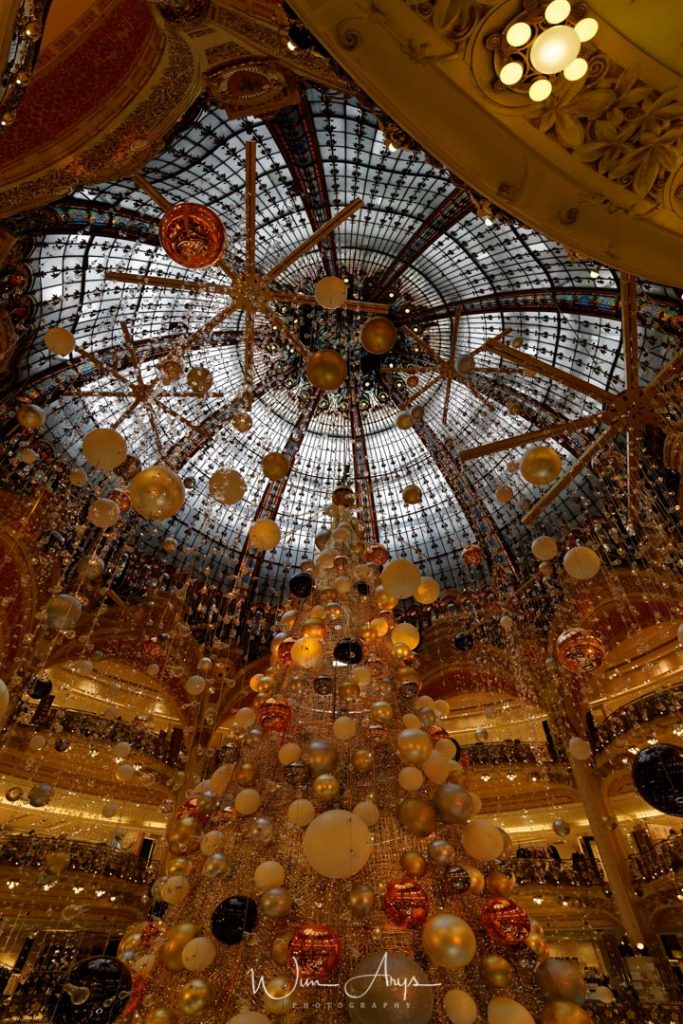
Lafayette galleries Paris interior original
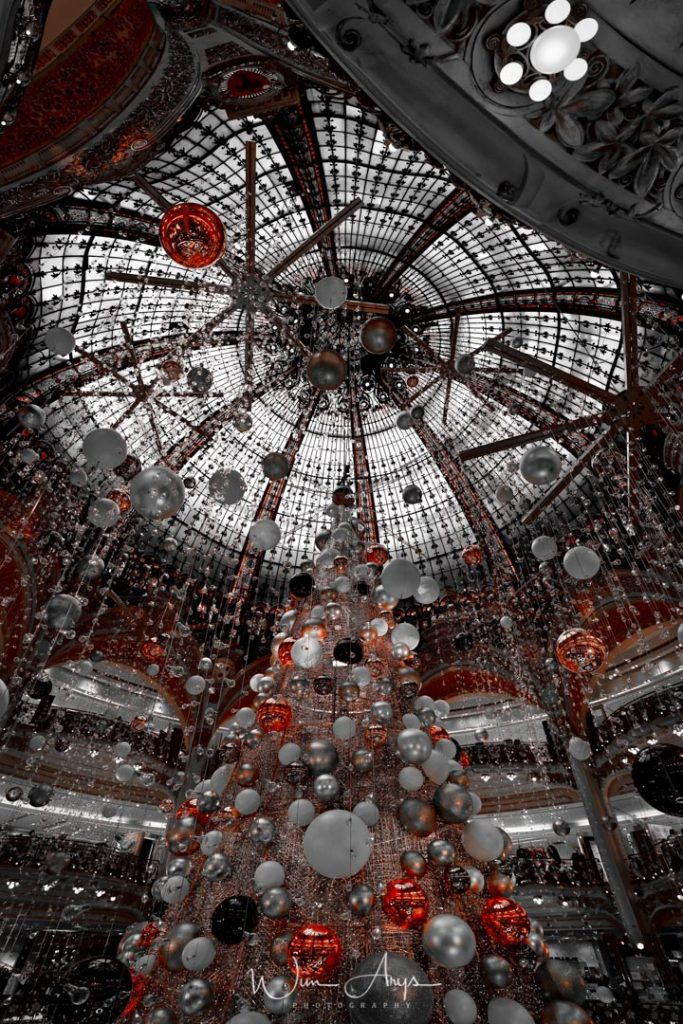
Lafayette galleries Paris interior split toning preset
Interface
Luminar is available either as a standalone editor or as a plug-in for Lightroom or Photoshop. Either way, once engaged, the editor looks identical and has the same functionality.
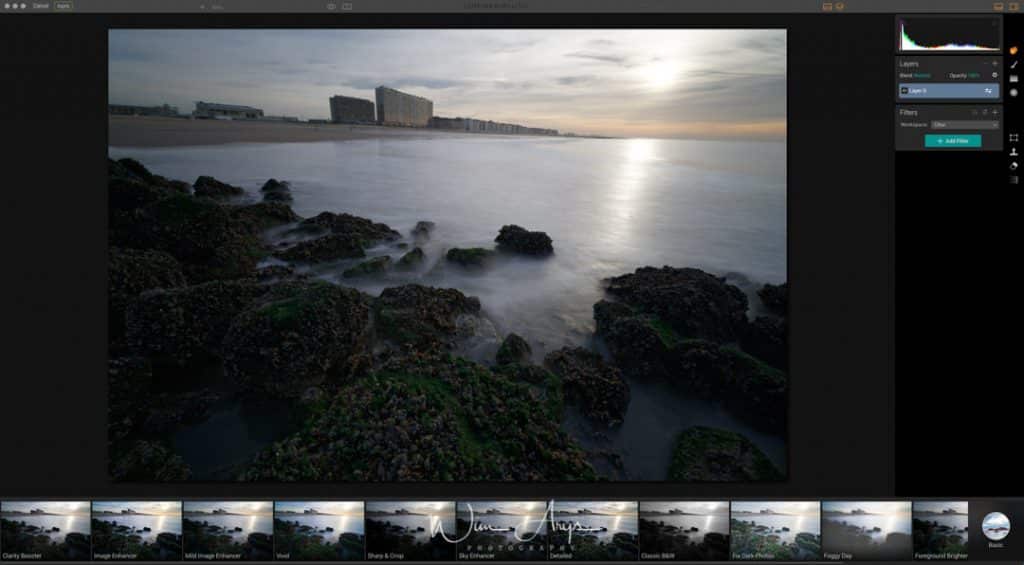
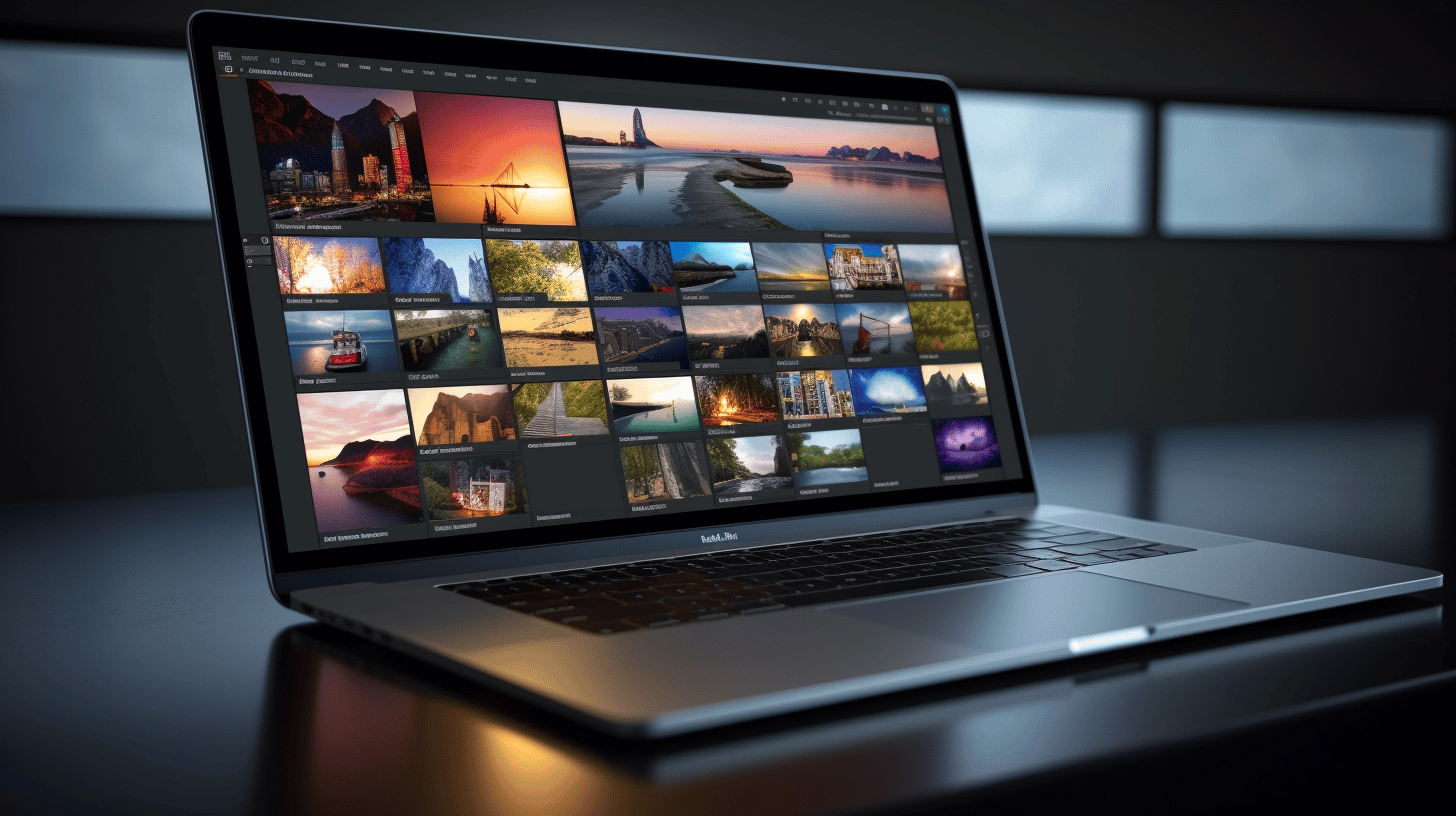
Once Luminar opens up, you’ll see a preview of your image covering most of your screen. The interface is divided into roughly five sections: your image preview, top bar, presets bar, histogram/layers/filters section, and a section with eight icons on the far right.
![]()
The top bar allows you to:
- Cancel/apply: process your image and save to disk or return to photoshop/Lightroom.
- Zoom in or out (+ -) of your image for a better view of your processing.
- Switch between before/after processing or split your image in a before/after the preview.
- For a simpler interface, you can remove specific modules from your interface.

Below your selected image, you’ll find a carousel with presets previews. Macphun has a few bundles of presets included for specific types of images like street photography, landscape, people, etc. The round icon on the far right allows you to switch preset bundles. I believe you can purchase more if you want to.
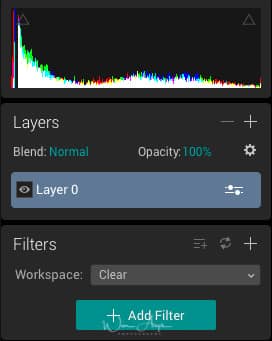
On the right-hand side, you’ll notice a histogram with below that a Layers panel and filter panel.
- Layer 0 is your opened image. You can, for example, add other images for double exposure effects or duplicate your current image if you want to use different processing techniques and blend them back together.
- The Filters panel allows you to add different kinds of filter to a specific layer.
![]()
Next to the layers and filters, you’ll notice eight selectable icons. These icons open up different features of Luminar like masking, cropping, erasing, cloning and noise reduction.
Macphun apparently has taken a lot of time to find a more logical workflow instead of what you’d find in other editors and just copying that. It does take some time to get used to this layout, and the concept of layers, filters and engaging more advanced functionality through the icons. But it shows that this company is serious about developing a competitive alternative to the aforementioned software.
La Défence, Paris original RAW
La Défence adjusted in Luminar
Working with Layers and Masks in Luminar
Working with Layers and Masks, it’s a concept that confuses many beginning photographers. Adding layers superimposes one image over another. Think of it like stacking analog photo negatives on top of each other. The end result will be a combination of these two (or more) images. Thanks to digital processing, it is possible to blend these two images in different ways.
This technique has different applications. One of them is the well-known double exposure, where you blend two different images together. The other is processing an identical image in different ways and blending them back together.
Quite easy to draw in a mask with Luminar
Using masks is like cutting out a section of an image (like the sky for instance) and processing that differently than the rest of the image. This processed selection can then again be blended together with the original image. Luminar can also automatically generate a basic luminosity mask, that splits the highlights and shadows in two basically. This is the easiest way to get a precise mask for further processing.
Luminar compared to Photoshop and Lightroom
At first glance, Luminar might look similar to many other plug-ins for Photoshop like Google Nik or Color Efex. You’ll immediately notice the preset bar and start experimenting with different generic presets. But once you realize the full power of this software suite, you’ll see that you can get results much faster than using the Lightroom/Photoshop combination. Do you need to erase a distraction from your image? Apply noise reduction? Add a fog or golden hour effect? Forgot your polarising filter? No problem, it’s all within easy reach. And this all can be done with easy to implement masks or layers.
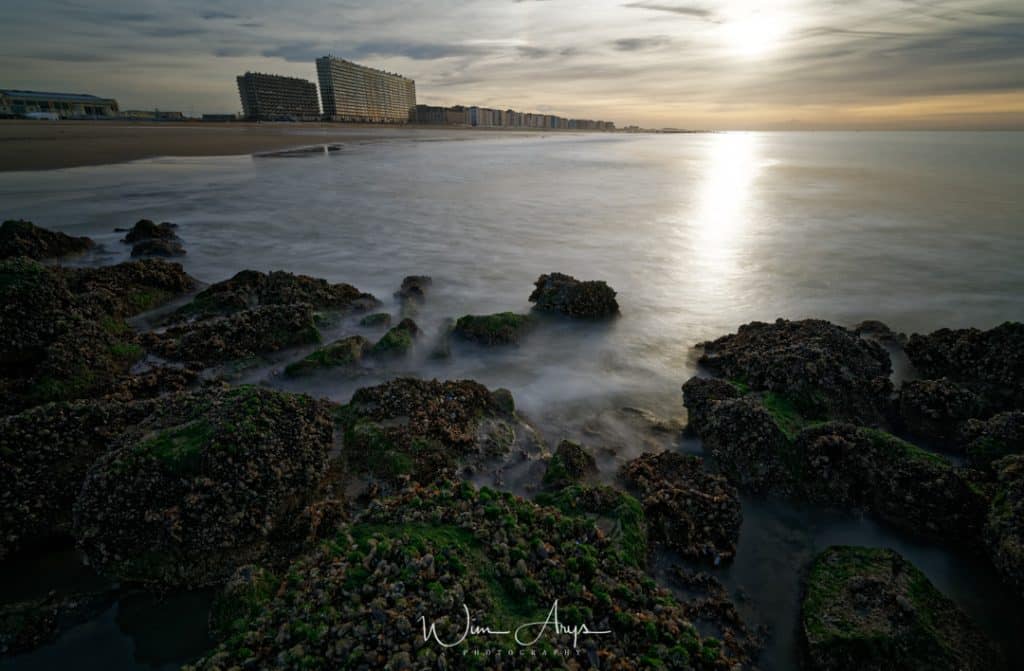
original seascape
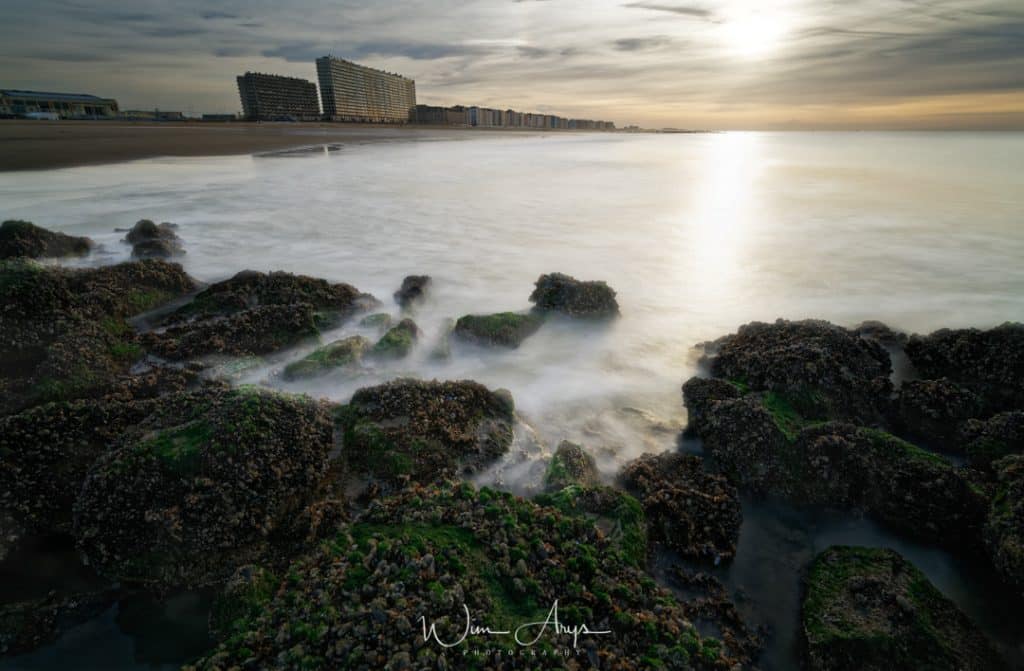
Added some mist here with a masking Brush
Possible disadvantages
You’ll still need Lightroom as a catalog and management tool, as Luminar does not offer this functionality for the moment. And it’s also only available for Mac at the moment, although a PC version is in the works.
Conclusion
Luminar is a very intuitive photo editor and can certainly be a good addition to your workflow. With the beautiful interface, the large amounts of filters and much of the Photoshop functionality (especially layers and masks and object removal), you could consider this as a real alternative to an expensive Creative Cloud subscription. The only thing that would be lacking is the catalog and management tools in Lightroom.
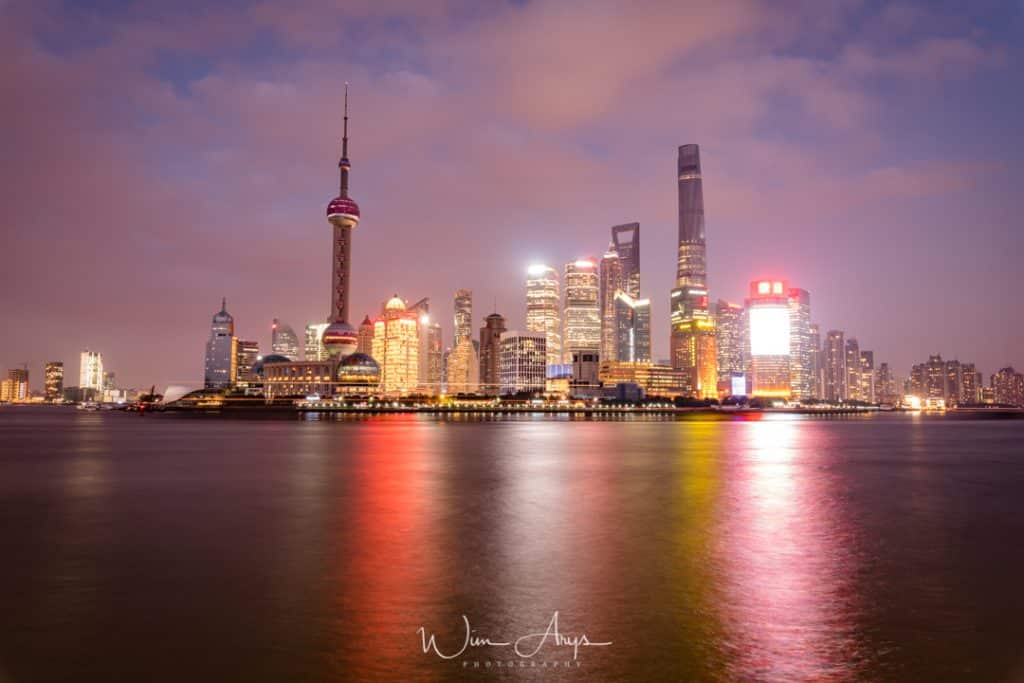
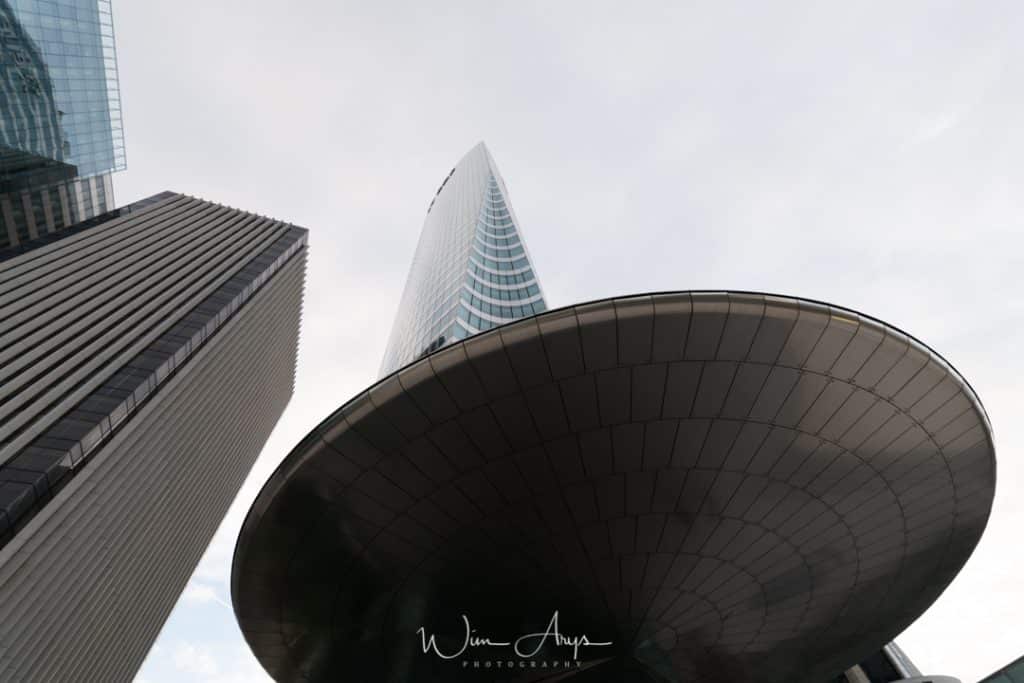
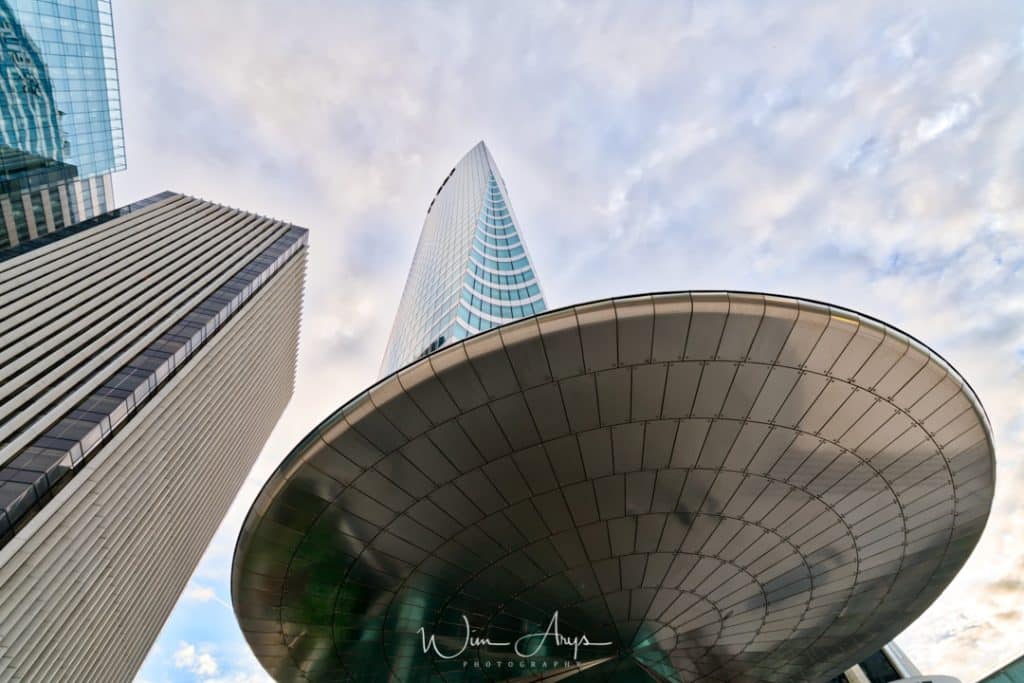
Shanghai skyscrapers original RAW
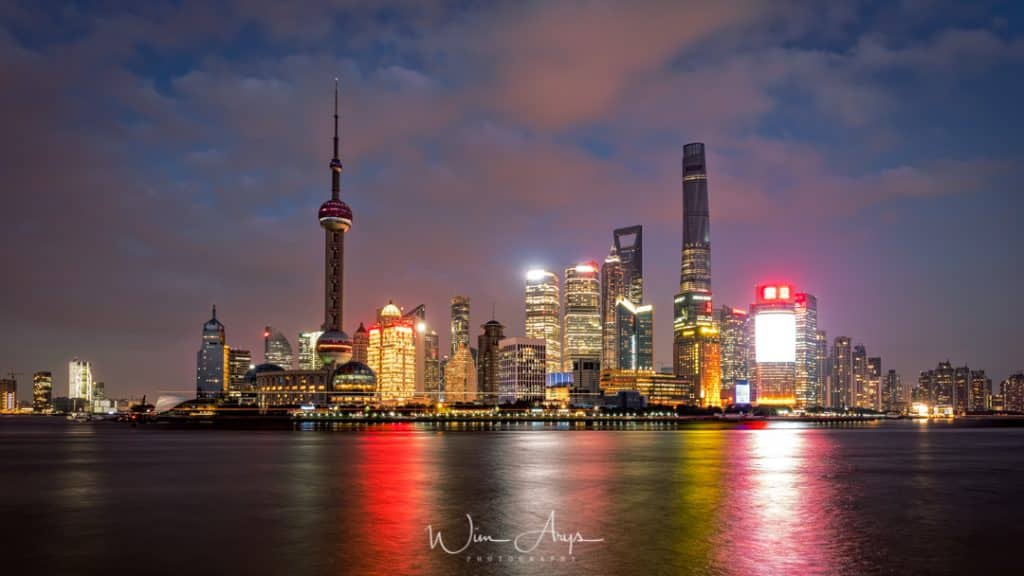
Shanghai skyscrapers processed in Luminar with color cast removal
If you’re a Lightroom user and are looking for a Photoshop alternative that is easier (and more fun) to use, try Luminar. It will take some time to get to know the interface and all the power that Luminar has under the hood, but I would definitely recommend this nice piece of software as an advanced plug-in for LR or PS.
Price
Luminar 3 with libraries is available from December 18th 2018. You can order now at a price of $59 for new users or upgrade from the 2017 version for $49. If you use the promo code WIMARYSPHOTOGRAPHY you’ll get an additional $10 dollar discount
Besides the special freebees package from Skylum (SmugMug portfolio pla sky overlays and voucher codes) I’m giving away my brand new preset collection called ‘Americana Black and White’ featuring ten custom made classic black and white presets for Luminar. All you have to do is send me a screenshot of your invoice with my coupon code to wimarys(at)gmail.com.
I think the folks at MacPhun have done a very job in putting together a feature packed program. But there are some serious issues.
1-Very slow when loading an image even on a new Macbook pro and could be deadly on an older Macbook pro.
2-Things like noise reduction and spot removal are very very slow.
3-Earlly on it was promised, yes promised that in the first year there would be a library type option within which a folder of images could be viewed and culled.
I gave up after repeat questions. on both speed issues and library issues and I have gone to a program for the Mac called Picktorial 3.0 which is superb and very excellent with global and local adjustments. And it uses the Mac filing system as its library so I can see a whole folder of images or whole card and rate the images that are important to me.
Hi Elliot, thanks for the tip. I’ll have to check it out.
I’m using Macphun as a plug-in from Lightroom, so I don’t have most of your issues. I’ve also found out that any type of good noise reduction takes a lot of computing power, and that is equally so in Luminar.
The noise reduction in Pictorial is quite fast. But with my Fuji X’s I rarely need it. 🙂
By the way, I too have a passion for mirrorless and small primes. In germany there is a company called Cosyspeed. I use their bags which are designed for mirrorless only and they are incredible for quick access and getting around. Check them out. http://WWW.COSYSPEED.COM
Interesting. Thanks for the link Elliot!