
Canon EOS M100 setup guide with tips and tricks
[smartpay_product id=”11″]
Introduction
The Canon EOS M100 utilizes a 24.2-megapixel APS-C CMOS sensor. The sensor has a native ISO range of 100 to 25,600 and is the same sensor Canon EOS M50 .This small camera is definitely a great option both for beginners and more advanced photographers who do not want a viewfinder.
If you’re new to digital photography or Canon cameras, I’m sure this guide full of tips and trips will make you more familiar with the various settings, features and functionalities of the Canon M100. Now it’s time to turn your camera on and press the Menu button. You’ll be able to follow along page by page with this guide.
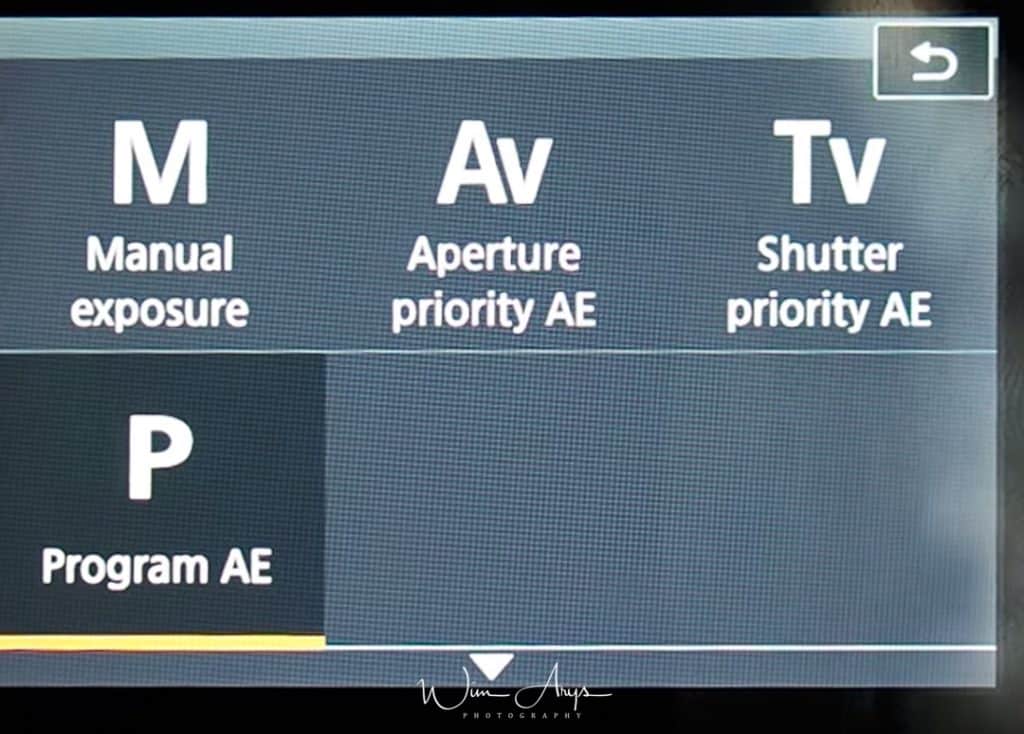
Compared to the more expensive EOS M50, the M100 has a more simplified user interface and you can only choose between Manual Exposure (M), Aperture Priority AE (AV), Shutter Priority AE (Tv) and Program AE (P) Set your camera to M mode if you want to see all the menus.
Canon EOS M100 Menu system
The Shoot Menu (Red Camera Icon)
Page Shoot 1 (SHOOT1)
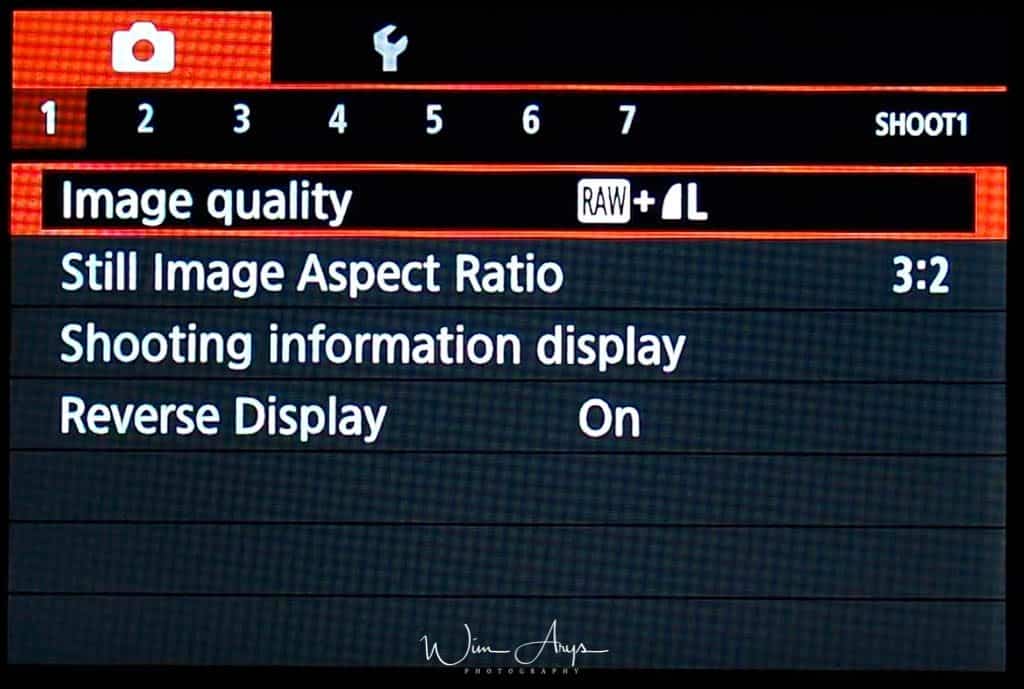
Image quality: you primarily need to decide whether to shoot RAW or JPEG. Raw records all the data from the sensor, Jpeg is basically a much smaller file that has all kinds of information already baked in. Most serious photographers shoot RAW, as this gives you the most flexible file to work with in an application like Adobe Lightroom.
You’ll be able to recover more colour in the highlights of your image for instance, and pull more detail out of the shadows with a Raw file than with a Jpeg. The only downside are the larger files and the fact that of course you’ll need to develop them later on. RAW file average size of 15.5 MB an JPEG file average size of 7.4 MB with the M100.
| Image quality | Image size (3:2 aspect ratio) | Shots / 32GB UHS-1 card |
| Large Fine | 6000 x 4000 pixels | 3651 |
| Large Normal | 6000 x 4000 pixels | 6782 |
| Medium Fine | 3984 x 2656 pixels | 6645 |
| Medium Normal | 3984 x 2656 pixels | 11741 |
| Small Fine | 2976 x 1984 pixels | 9948 |
| Small Normal | 2976 x 1984 pixels | 16455 |
| Small 2 | 2400 x 1600 pixels | 16874 |
| RAW | 6000 x 4000 pixels | 1084 |
| RAW+Large Fine | 6000 x 4000 pixels | 835 |
If you decide to shoot Jpeg, you can choose between Large, Medium or Small, each with a Fine or Normal setting. Check the table above for the relative pixel sizes for each setting. I would advise Large and Fine of course.
Still img aspect ratio
this describes how square (1:1) or wide (16:9) your image is. It’s expressed as a figure, like this: width:height (width always comes first). The aspect ratio of the APS-C sensor is 3:2, and you should use this if you want to use the full surface of the sensor. Cropping can also be done later.
- 3:2: the native sensor dimension of the M100.
- 4:3: native resolution of a micro-four-thirds camera .
- 16:9: for a wider perspective.
- 1:1: a basic square setting.
Shooting info. Disp.
This submenu has Grid display [Off, 3×3, 6×4, 3×3+diag], Histogram disp [Brightness/RGB, Large/Small], Reset.
Reverse display
Even though the display looks the same when this function is turned on, it is symmetrically opposite along the vertical axis. Quite a neat feature for the swivel screen when it comes to taking a self portrait or on a self-timer mode.
Page Shoot 2 (SHOOT2)

Image review: You can modify the amount of time the image displays on the LCD monitor after your EOS M100 writes it to the memory card. You can set the preview time from 2 to 8 seconds or display the image until you turn off the camera. Or you can turn it OFF if you don’t want this. I turn it off as I can always press the play button if I decide to review a shot I’ve just taken..
- Off
- 2 sec
- 4 sec
- 8 sec
- Hold
Touch Shutter
If the Touch Shutter function is set to On, you can take shots easily by having the camera focus on your subject and adjust the brightness simply by touching. I don’t use this function, but if you’re coming from a smartphone, you could find it very useful.
Quick Setting Menu Layout
Choose what is included in the Quick setting Menu Layout and what is not.
Page Shoot 3 (SHOOT3)
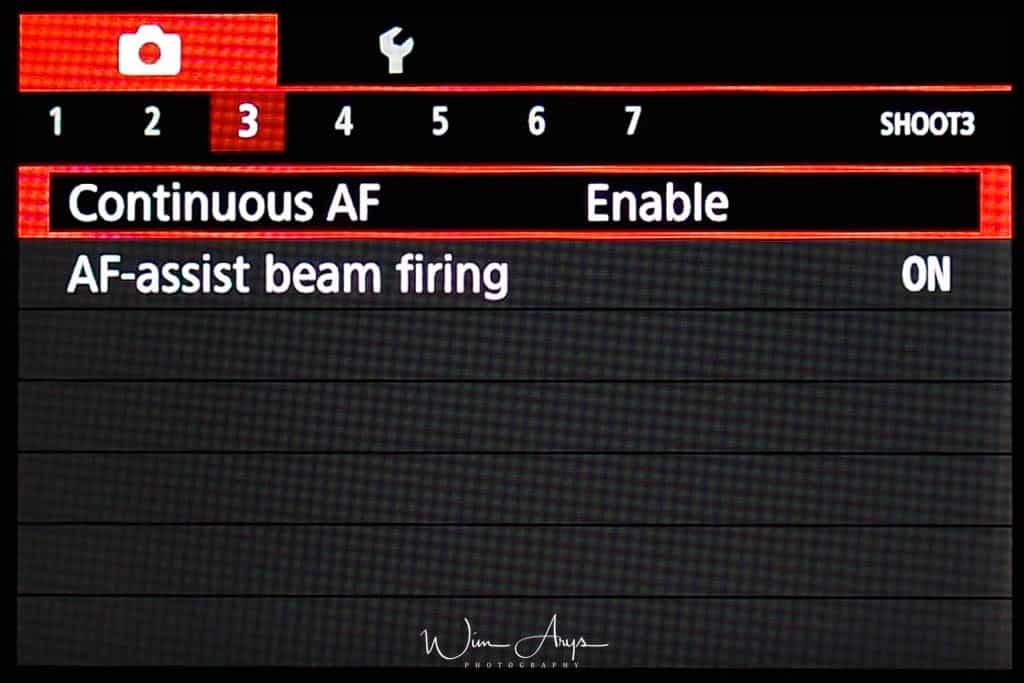
Continuous AF
Enable or disable continuous AF where the camera constantly tries to acquire focus, even without pressing the shutter. Turn this Off.
AF-assist beam firing
This is a read beam that flash has which helps to acquire focus in situations with low light.
Page Shoot 4 (SHOOT4)
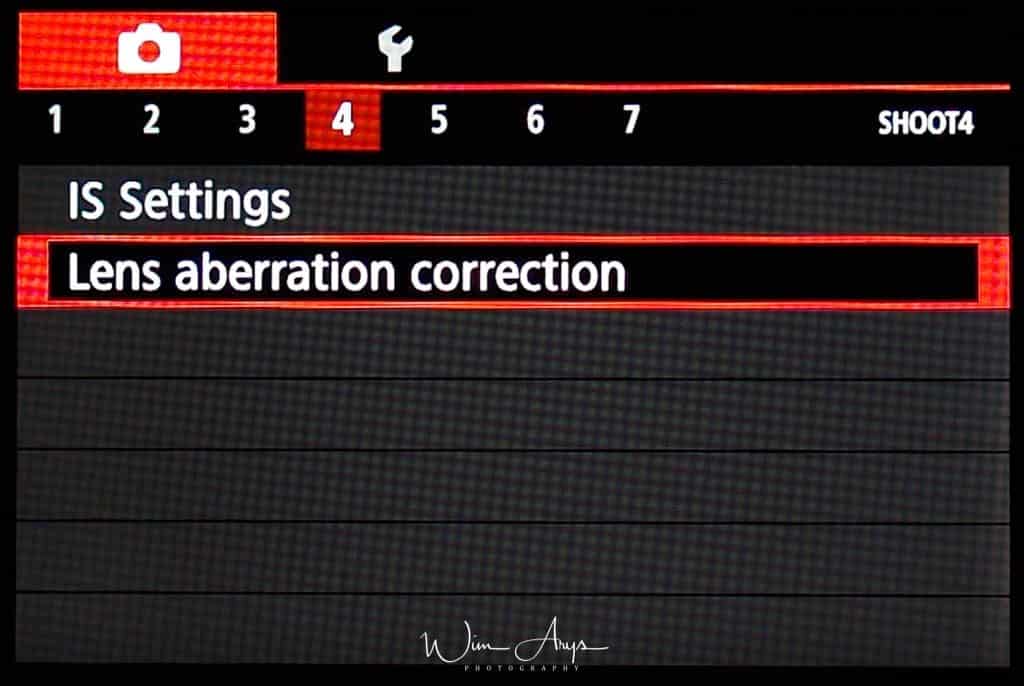
IS settings
Some lenses have optical image stabilisation built in. This helps with getting sharp pictures even with low shutter speeds; There are really no negative sides to using this, except that it’s not necessary to use when shooting landscapes.
There is also an electronic image stabilisation system for use with video, that might be beneficial to some, although the effect is minimal.
Lens aberration correction: digital technology provides the ability to adjust images in-camera. One area this can be useful is in correcting for optical performance. By mapping the performance of each camera and lens at a variety of focal lengths, focus distances and apertures, it is possible to correct for these irregularities and bring the lens performance closer to ‘perfection’. These corrections are only available for photos captured in the JPEG file format. There is no reason to turn this off, except if you’re noticing a slow down when shooting in burst mode. Then this might be the reason
- Peripheral illumination correction: This is called lens light fall-off or drop in the corners or vignetting.
- Distortion correction: If you’re shooting with a wide-angle lens you may have noticed that at the wide end you will most likely find some distortion. This corrects distortion for any lens in the lens database.
- Digital Lens Optimizer: Performs high- level correction for lens aberration in-camera
- Chromatic aberr corr: Automatically remove color fringing due to Chromatic aberration.
- Diffraction correction: a camera and lens specific correction that uses a profile of the lens used to ameliorate the effects of diffraction caused by small apertures (usually f/11 and beyond where there will be decrease in sharpness).
Page Shoot 5 (SHOOT5)
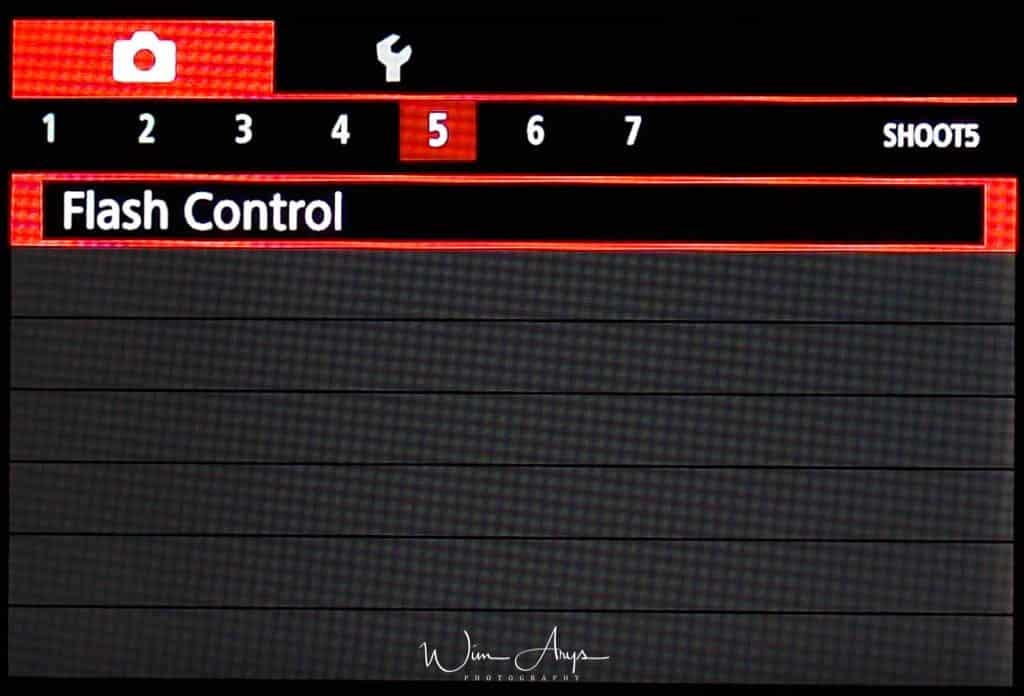
Flash control: Using this menu item, you can adjust flash power. The Flash Control option also enables you to customize a few other aspects of the built-in flash.
- Flash firing: Normally, this option is set to Enable. If you want to disable the flash, you can choose Disable instead. However, you don’t have to take this step in most cases.(just close the pop-up flash head on top of the camera if you don’t want to use flash).
- E-TTL II meter: This option enables you to switch from the default flash metering approach, called Evaluative. In this mode, the camera exposes the background using ambient light when possible and then sets the flash power to serve as fill light on the subject. If you instead select the Average option, the flash is used as the primary light source, meaning that the flash power is set to expose the entire scene without relying on ambient light. Typically, this results in a more powerful (and possibly harsh) flash lighting and dark backgrounds.
- Red-eye reduc.: When flash is used in a low-light environment, the subject’s eyes may come out red in the image. Red eye happens when the light from the flash reflects off the retina of the eyes. The camera’s red-eye reduction feature turns on the red-eye reduction lamp to shine a gentle light into the subject’s eyes to narrow the pupil diameter or iris. A smaller pupil reduces the chances of red eye from occurring.
- Slow synchro: Slow Sync Flash is a function found on many cameras that tells your camera to shoot with both a longer shutter speed as well as firing the flash. This means you get the best of both worlds above and can both get a relatively sharp shot of your main subject as well as get some ambient light from the background and foreground.
- Safety FE: The camera automatically changes the shutter speed or aperture value when the flash fires to avoid overexposing and blowing out the highlights in the scene.
Page Shoot 6 (SHOOT6)
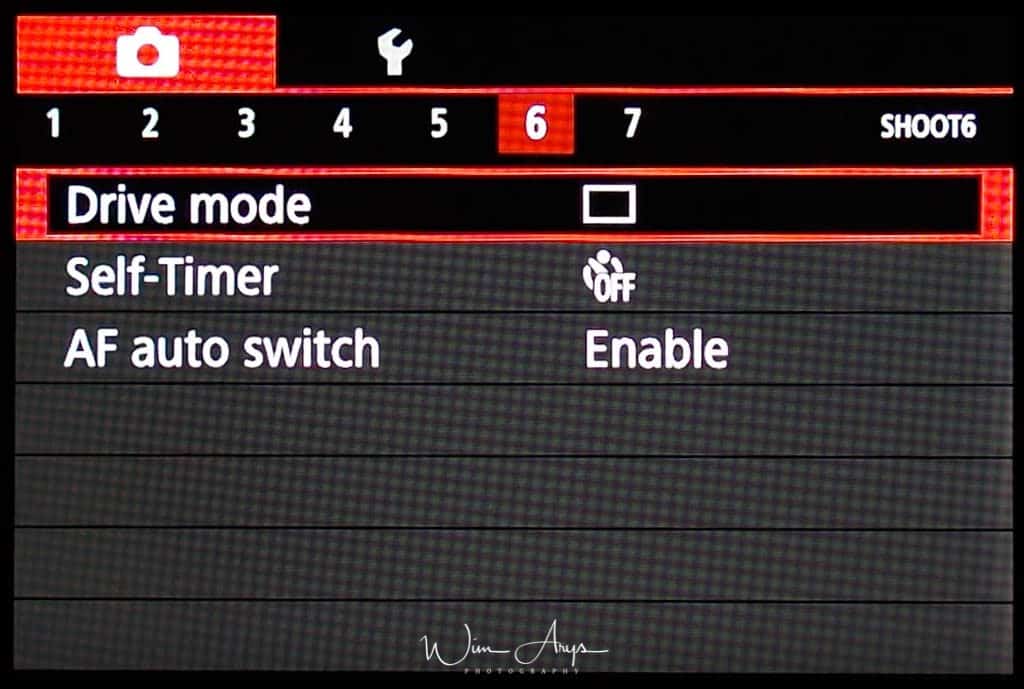
Drive Mode: Extremely high speeds continuous shooting up to 10 fps is possible using One Shot AF (first AF position is fixed), and up to 7,4 fps using servo AF (where the camera continuously focuses even with moving subjects).
- Single: the camera fires one shot each time the shutter button is fully depressed.
- continuous high: the shutter keeps firing for as long as you depress the shutter button at maximum burst rate.
- continuous: the shutter keeps firing for as long as you depress the shutter button at a slower burst rate. Great idea if you need to be able to shoot and write longer to the SD card without flooding the buffer.
AF auto switch
Sets whether to use autofocus or not.
Self Timer/Remote Control
- self timer 10: the camera takes a picture after 10 seconds.
- self timer 2: the camera takes a picture after 2 seconds.
- self timer continuous: the camera take pictures continuously after a small delay.
A remote controller can also be used.
Page Shoot 8 (SHOOT8)
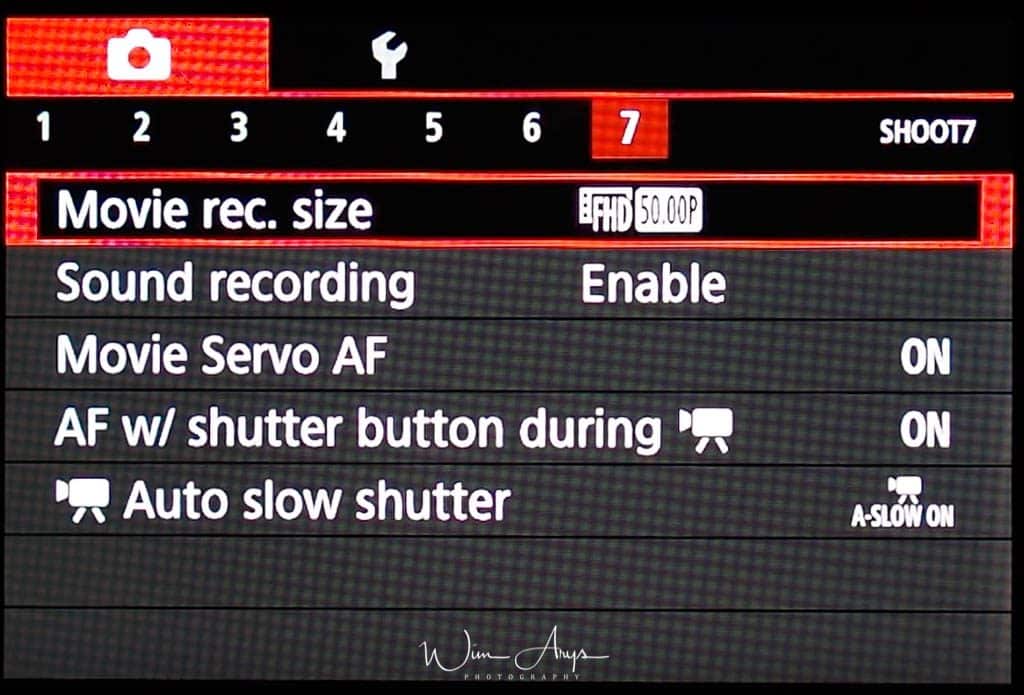
Movie Rec Size
Videos are recorded as .MP4 files (MPEG-4 AVC/H.264 encoding with AAC-LC stereo audio) with a maximum duration of 29 minutes and 59 seconds, and a maximum file size of 4GB.
Resolution and framerate options are: Full HD (1920 x 1080) at 60 (59.94), 50, 30 (29.97), 25, or 24 (23.98) fps; HD (1280 x 720) at 60 or 50 fps; and VGA (640 x 480) at 30 or 25 fps.
Sound recording:
Sound rec. Auto/Manual/Disable;
Manual gives access to a Rec. Level 5-point scale, and a Wind filter/Attenuator screen with Enable/disable for the Wind Filter and Auto/Enable/Disable for the Attenuator.
All these screens have a full-width live horizontal scale showing the current sound levels on the L and R channels.
Movie Servo AF:
When shooting video, a Movie Servo AF mode offers smooth and natural focusing when changing from different subjects or different distances within the scene, as well as the ability to specify tracking sensitivity, AF speed, and Face Tracking priority.
AF with Shutter Button
- You can refocus and shoot a still photo by pressing the shutter button halfway while shooting a movie.
- When shooting a static subject (not moving), you can take a picture with precise focus.
Auto Slow Shutter
The Canon EOS M100 automatically uses slow shutter speeds to obtain brighter recordings in places with insufficient lighting. Ituses shutter speeds down to 1/30 second.
Playback Menu (blue playback icon)
Page Play 1 settings (PLAY1)
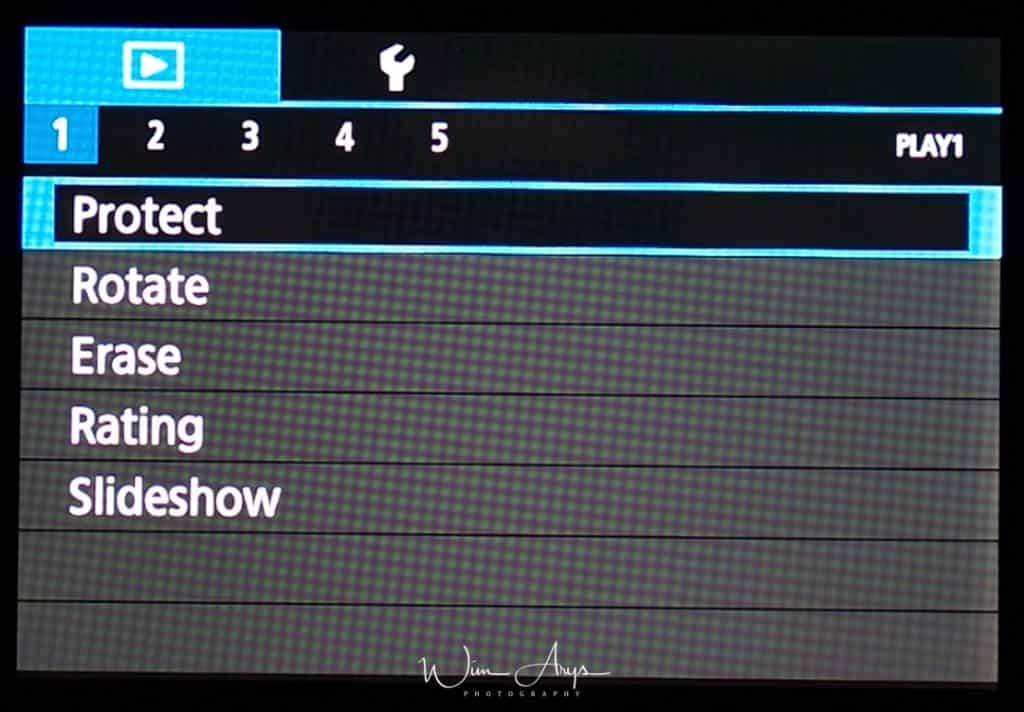
Protect images
You can select how to protect and unprotect an image from deletion on the EOS 50D. Once an image is protected, it cannot be erased by the camera’s erase function. To erase a protected image, you must first cancel the protection. If you erase all the images, only the protected images will remain. This is convenient when you want to erase unnecessary images all at once.
You can choose to Select images, Select range, All images in folder, unprotect all images in folder, All images on card or unprotect all images on card.
Rotate image
Vertical images are rotated automatically so they are displayed vertically on the camera’s LCD monitor and personal computer instead of horizontally. The setting of this feature can be changed.
- Immediately after image capture, the vertical image will not be automatically rotated for the image review.
- If the vertical image is taken while the camera is pointed up or down, the image might not rotate automatically for playback.
- If the vertical image is not automatically rotated on the personal computer screen, it means the software you are using is unable to rotate the image.
Erase images
Select and erase images by selecting a range or All images in folder or All images on card.
Rating
You can add a star rating to your images here. This rating will show up later when you transfer the images to your computer if you use Canon’s Digital Photo Professional.
You can:
- Select images
- Select range
- All images in folder
- All images on card
Slide show
You can setup and start an in-camera slideshow here.
Page Play 2 settings (PLAY2)
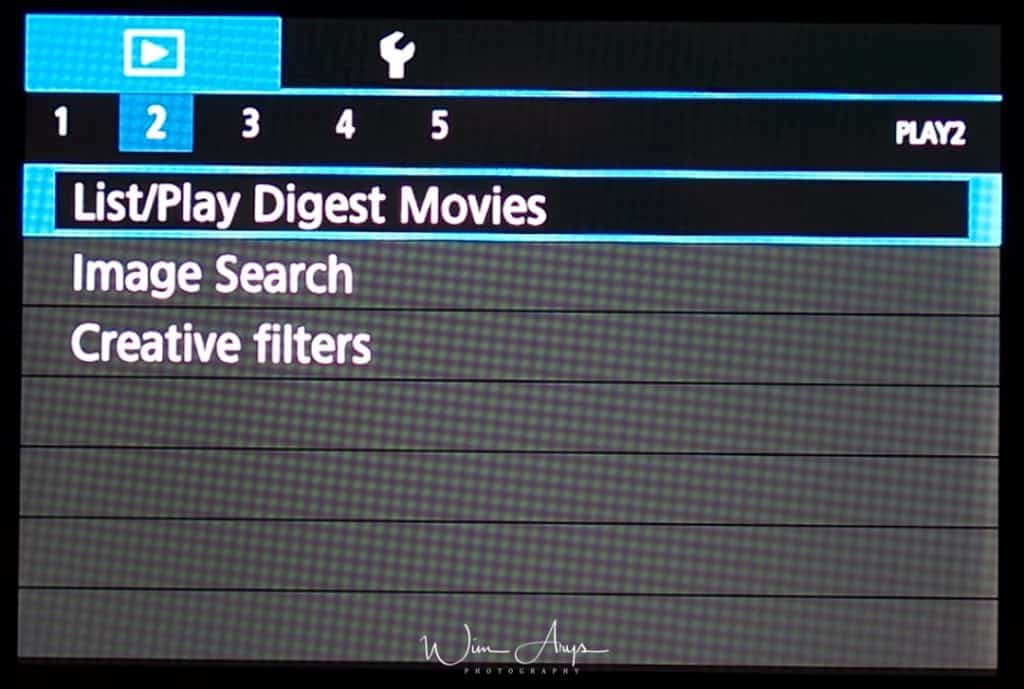
List/Play Digest Movies
Display a still image shot in auto movie mode to play a digest movie, or specify the date of the digest movie to play.
Image search
You’ll find lots of factors to choose here, I honestly don’t know why this was implemented and never use it.
Creative Filters
Creative filters offer a way to add special effects to your images. You have a wide range of filters available: Grainy B/W, Soft Focus, Fish-eye Effect, Water painting effect, Toy camera effect, Miniature effect , HDR Art standard, vivid, bold and embossed.
Page Play 3 settings (PLAY3)
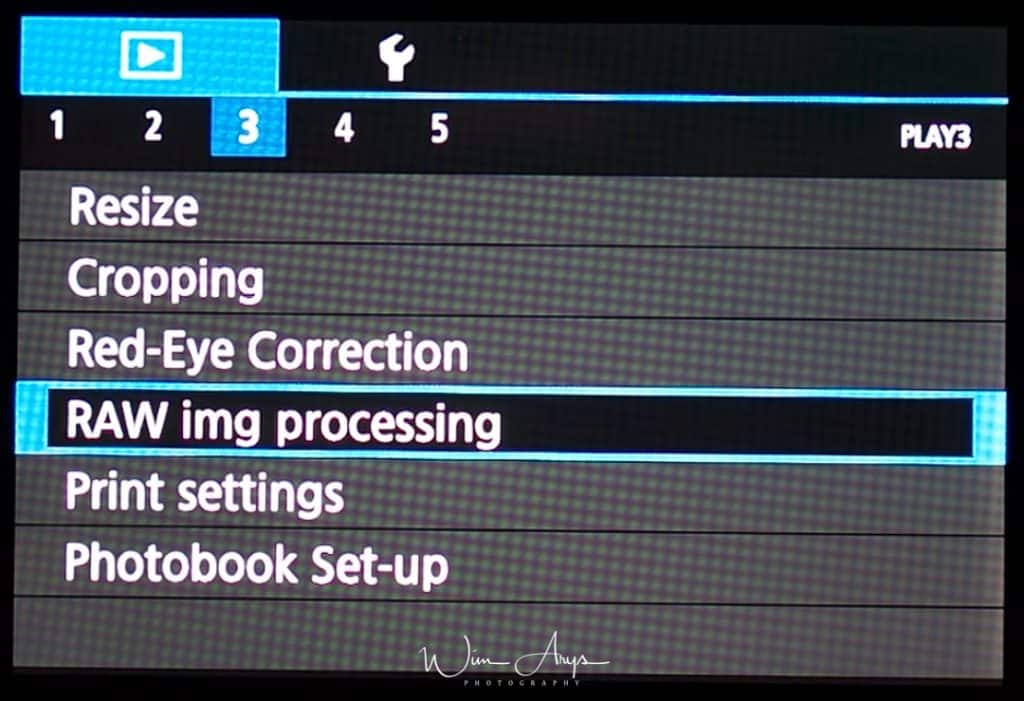
Resize
It’s also possible to resize your RAW images and save them in-camera for posting on social media for instance.
Cropping
Complementary to the other in-camera RAW processing feature, you can crop your image or multiple images here freely or according to preset dimensions.
Red-eye correction
You can automatically correct red eye in images taken with the flash. You can also correct red eyes in recorded images. However, red eyes may not be automatically detected in some images or the results may not turn out as you intended.
RAW image processing
Being able to perform RAW image post-processing right after shooting on a camera is a function that comes in very handy.
These settings are available on the Canon M100:
- Brightness adjustment: EV-1, EV-2/3, EV-1/3, EV±0, EV+1/3, EV+2/3, EV+1
- White balance: WB: Shot settings, Auto, Day Light, Shade, Cloudy, Tungsten light, White fluorescent light, Flash, Colour temperature
- Picture Style: Picture Style: Shot settings, Auto, Standard, Portrait, Landscape, Fine Detail, Neutral, Faithful, Monochrome, User Def. 1, User Def. 2, User Def. 3
- Auto Lighting Optimizer: Disable, Low, Standard, High
- High ISO speed Noise Reduction: Disable, Low, Standard, High
- Image quality: write small, medium and large jpeg files in fine or standard resolution.
- Peripheral illumination correction: Enable/Disable
- Chromatic aberration: Enable/Disable
- Diffraction correction: Enable/Disable
Print Settings
You can connect to a a Printer and Print Via a Wireless LAN. You’ll need to set up the connection here.
Photobook Set-up
This function is useful for ordering photobooks online and for printing photobooks on a printer.
When you select images to use in photobooks (up to 998 images) and use EOS Utility (provided software) to transfer them to a computer, the selected images will be copied into a dedicated folder. This function is useful for ordering photobooks online and for printing photobooks on a printer.
Page Play 4 settings (PLAY4)
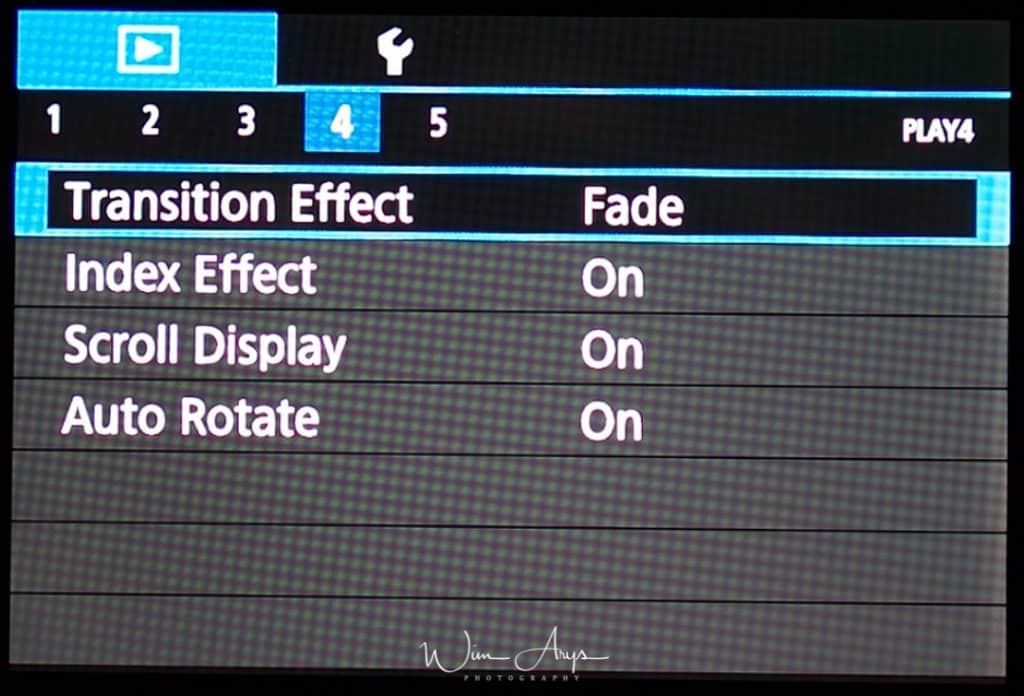
Transition Effect
Turn on or off the smooth transition effect for in-camera slideshows.
Index Effect
Turn on or off the smooth transition effect for your SD card browsing.
Scroll Display
Scroll Display allows you to browse through your images when you press and hold the left and right arrows after pressing the play button. You can either turn this trick on or off.
Auto rotate
Auto rotate automatically rotates your images that are shot in portrait mode to fit the screen size. You can turn this on or off and decide whether this will behaviour will also apply to images imported to your PC using the canon software .
Page Play 5 settings (PLAY5)
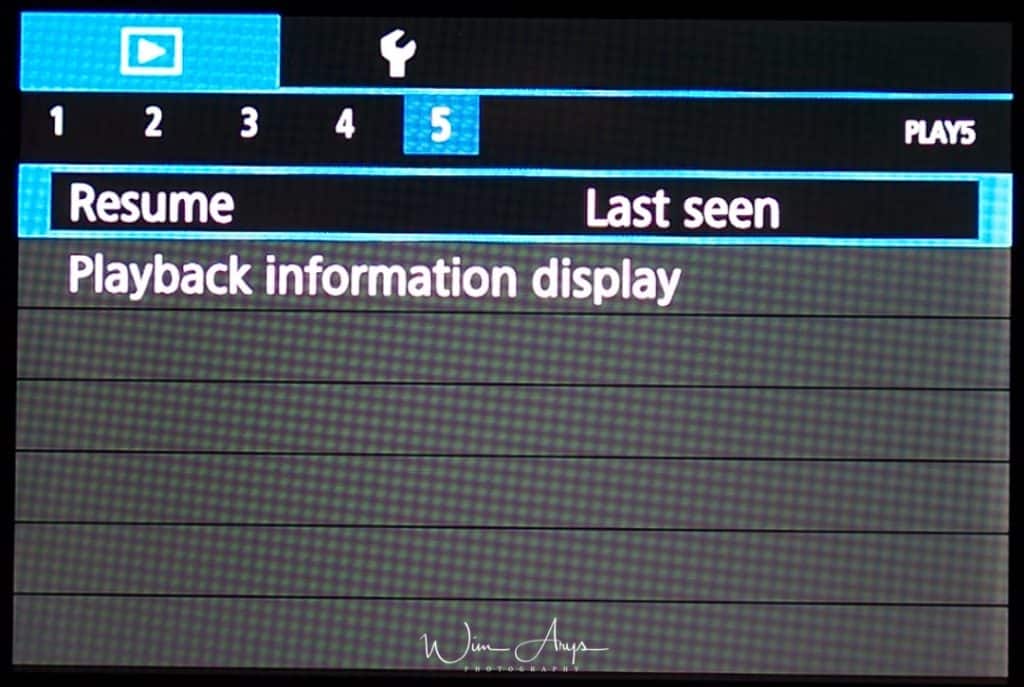
Resume
Either resume playback of your last picture when re-entering playback mode with the playback button, or start from the beginning of your images.
Playback information display
You can enable up to 9 individual screens – all except the first, which is the basic shooting info overlay, allow the histogram to be specified as brightness or RGB, and in some cases, both.
Set Up Menu (Spanner, yellow gear icon)
Set Up Menu Page 1 (SET UP1)
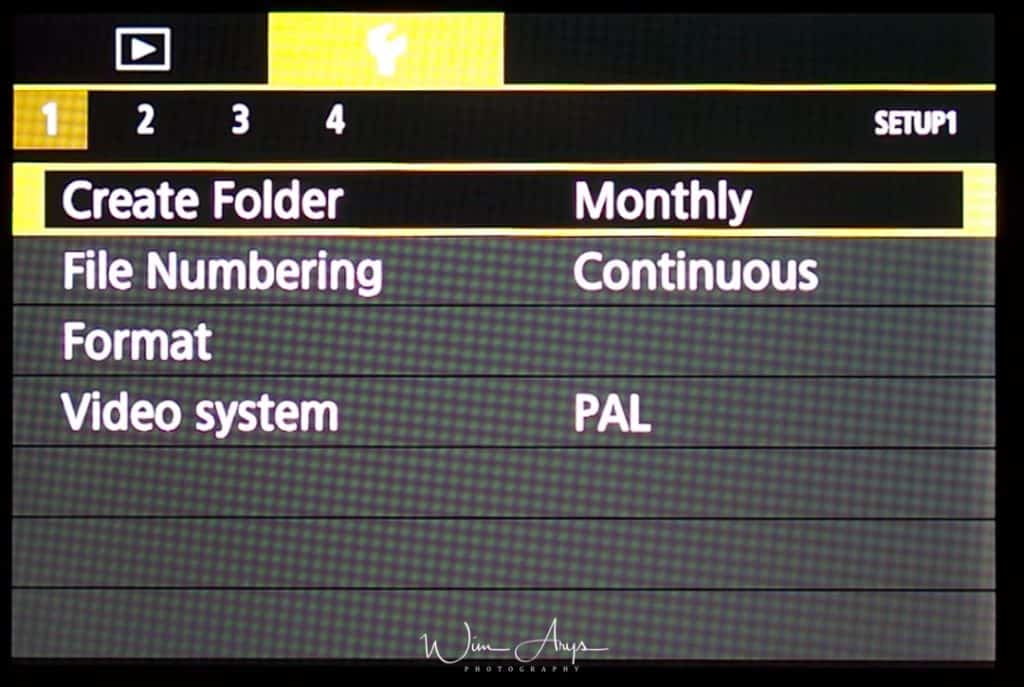
Create Folder
You can create the folder on your SD card where files will be stored here.
File Numbering
You can set the file numbering for each new shot to Continuous or Auto Reset/Manual Reset. Continuous will consecutively number your photos. Auto reset will reset the numbering every time an SD card is inserted, and Manual reset will reset the numbering once.
Format
You should format your SD card in-camera every time you insert an SD card when starting a new session. This to make sure that there won’t be any writing errors. Remember that formatting will erase all the images on the card, and won’t even be recoverable if you choose the low level format option.
Video System
Select either NTSC or PAL depending on the region where you live.
Set Up Menu Page 2 (SET UP2)
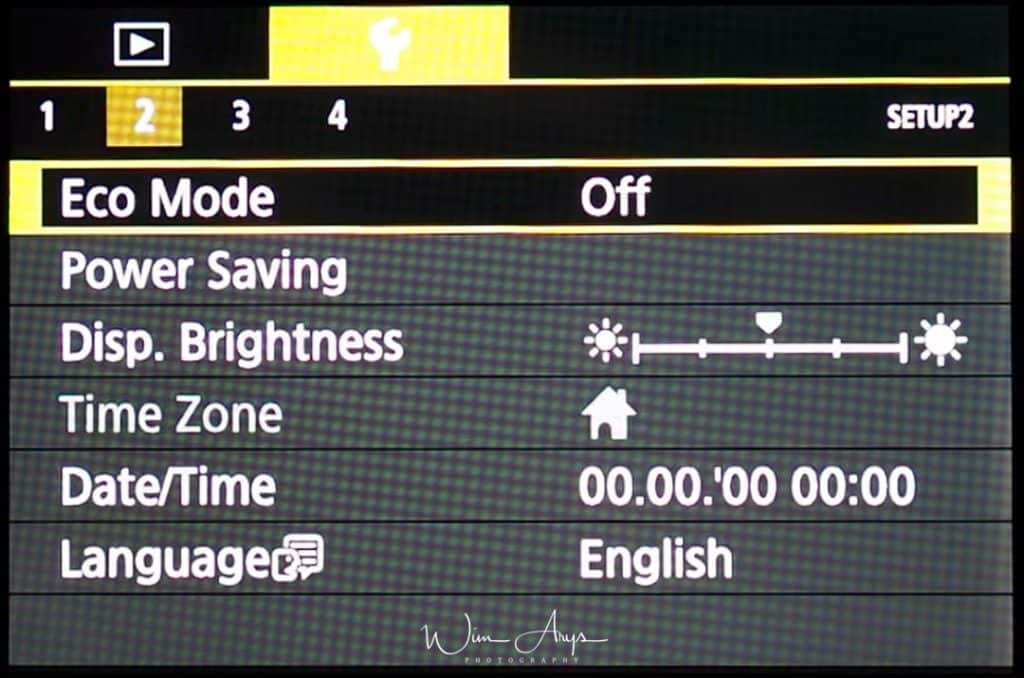
Eco Mode
This function allows you to conserve battery power.When the camera is not in use, the screen quickly darkens to reduce battery consumption.
Power Saving
The power will shut off in the following circumstances. Press the power button again to restore power.
| Shooting Mode | Powers down approximately 3 minutes after the last control is accessed on the camera. The LCD monitor automatically turns off 1 minute* after the last control is accessed even if [Auto Power Down] is set to [Off]. Press any button other than the power button to turn the LCD monitor back on. |
| Playback Mode or connected to a Printer. | Powers down approximately 5 minutes after the last control is accessed on the camera. |
Display brightness
Adjust the brightness of the display in 7 steps.
Date/Time/Zone
Select your local time zone, a date and time for your camera. This information will be written in the EXIF data of your photos.
Language
Select your preferred language for the camera Menus. I choose English, as it is easiest to find information online in English.
Set Up Menu Page 3 (SET UP3)
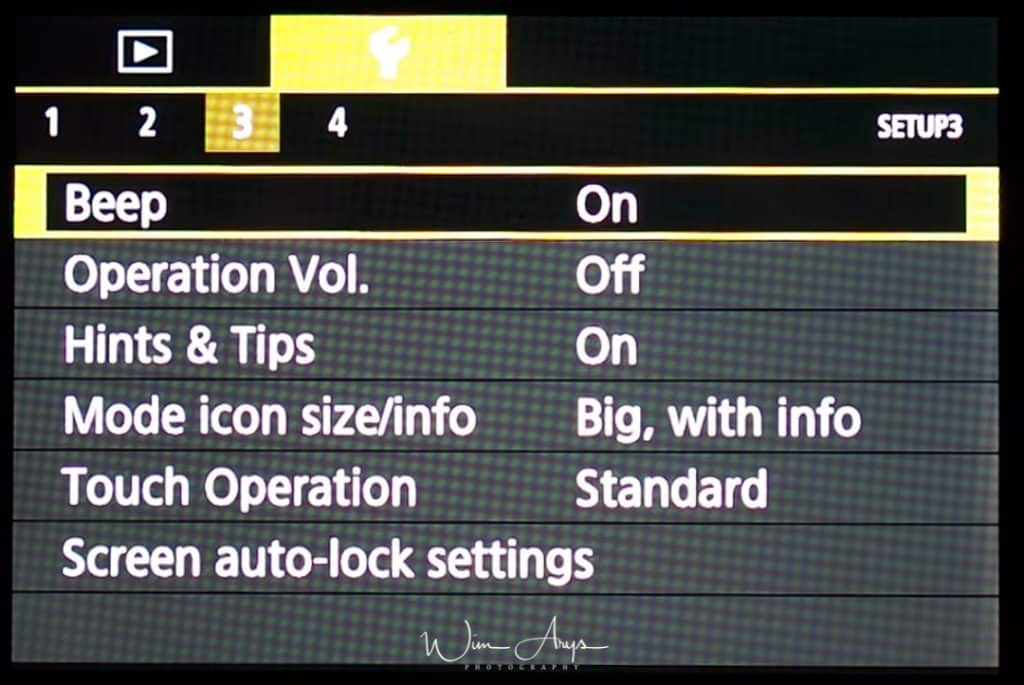
Beep
You can either enable or disable the beep when you engage the shutter as well as when you touch the screen.
Operation Vol.
Adjust the volume of individual camera sounds
Hints & Tips
Hints and tips are normally shown when you choose Quick Set menu
Mode Icon Size/Info
Change the size of the Icons on the home and info screen.
Touch Operation
Sensitivity of the touch-screen panel can be increased, so that the camera responds to a lighter touch.
Screen auto-lock settings
To prevent unintended operations, you can set up automatic locking of the touch-screen panel.
Set Up Menu Page 3 (SET UP4)
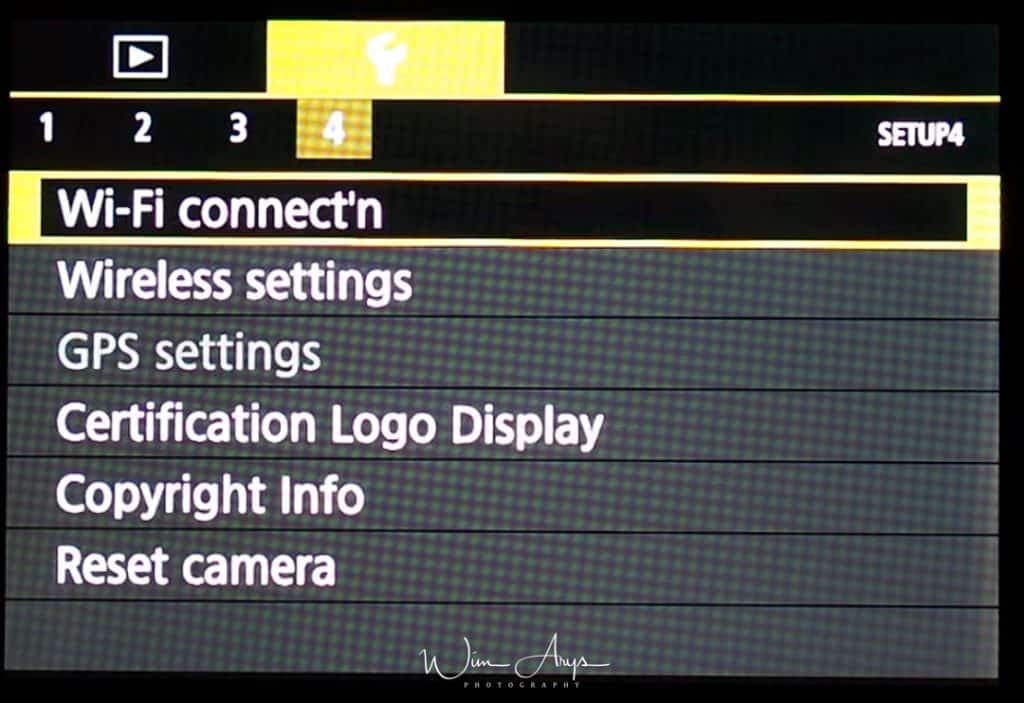
Wi-Fi connect’n
You can send and receive images and control the camera remotely by connecting it to these devices and services via Wi-Fi.
Smartphones and Tablets: Send images to smartphones and tablet computers that have Wi-Fi functions. You can also shoot as you view a shooting screen on your smartphone or tablet. For convenience in this guide, smartphones, tablets, and other compatible devices are collectively referred to as “smartphones”.
Computer: Use software to save camera images to a computer connected via Wi-Fi.
Web Services: Add your account information to the camera for CANON iMAGE GATEWAY online photography service or other Web services to send camera images to the services. Unsent images on the camera can also be sent to a computer or Web service via CANON iMAGE GATEWAY.
Printers: Send images wirelessly to a PictBridge-compatible printer (supporting DPS over IP) to print them.
Another Camera: Send images wirelessly between Wi-Fi-compatible Canon cameras.
Wireless Settings
You can wirelessly send images to your computer, smartphone or printer. You’ll need to access your local wifi network for this in this menu.
GPS Settings
Even though the Canon EOS M100 does not have a GPS module built-in, it is still possible to add location data to your images via the GPS data of your smartphone. You’ll need to install the Camera Connect app from Canon in order to do this.
Certification logo display
You have permission to ignore this screen, which simply displays logos for a couple electronics-industry certifications claimed by the Canon M100. You can find additional logos on the bottom of the camera.
Copyright Info
Using this option, you can embed copyright information in your files.

Reset camera
Fully reset the camera to the factory settings. Warning, you’ll loose all your own settings if you do this.
Conclusion
I hope you found this run-through of the entire Canon EOS M100 Menu system useful.Despite the Low price point and lesser features in this camera, there are still lots of features and functionality hidden inside the menu system, and this guide is a great start to discover them.
If you have any questions, feel free to ask them in the comment section below.

Excellent. thank you for that.
Thanks for this! But something is odd: Just got my M100 and my menus are different than yours.
This depends on the Mode you’re in Andrew.
I cant get my to work it says ‘To fully use the camera push and hold the switch in (triangle) direction then rotate and unlock…….. I don’t know what this means can you help please
Hi Dee, there is a switch on top of the lens. switch it forward and turn the lens to the left. It will be unlocked 🙂
How do I change it to monochrome mode?
You can do this in Picture style (Page Play 3 settings (PLAY3))
Hi, my name is Klis kotsias. I purchased yesterday the canon eos m100. trying to set it up and i find it impossible to connect it to my wifi. I typed my nickname the password of my wifi but it is impossible to connect. have tried lots of times. the screen shows ” use target device” and underneath “disconnect.
Am i doing something wrong.I have connected my smart phone my tablet my imac to the wifi with no problem.
please help.
thank you
Hi there and thank you for your review.
I wish to shoot pictures of landmarks and nature in order to use them on my travel site. I am wondering what size to shoot with and I saw that you recommend Large and Fine.
I was told that since I will be using the pictures for the web then I do not need to shoot in High Quality.
I would love to hear your opinion on that.
Thanks a lot
Andonis
Hi Adonis, it’s true that you don’t need the highest quality setting for the web. If you, however, want to do something more with your images now or later, I would advise you to save them as high quality and fine and resize for the web.
Hello, Wim. Thank you for your quick guide. It is very useful for beginners like me. However, my EOS M100 only have the following options for the Movie rec. size: FHD 59.94P, FHD 29.97P, FHD 23.98P, HD 59.94P, VGA 29.97 P. How do I set it to FHD 50.00P? I bought my camera on Black Friday last year (11/29/2019). What is the best among the above mentioned options if there is no option for FHD 50P?
Looking forward to your reply. Thank you very much again and have a great day.
Hi Ann, I’m not much of a videographer I’m afraid. Maybe someone else reading this post can help here?
Wim, I’m getting a new message on my screen as I’m trying to use the touch focus. I’m guessing I inadvertently touched or changed or changed something and my pictures are not in sharp focus now. I’ve had the camera for a few years and this is a new occurrence. The screen message is, “use button/other control to unlock screen”. I have no idea what “button” or “other control” to use to fix this. Would appreciate your help.
Hi Nancy, check out Set Up Menu Page 3 and look for Screen auto-lock settings.
Hi, my name is Jany. I purchased the canon eos m100 recently and I am trying to set up the setting for taking some picture of some of my paintings. I am struggling how to do it to get high resolution from that.
Can you help me please?
Hi any, use a tripod and set ISO to 100. An aperture of f/8 is normally the sharpest corner to corner. If possible, use a remote to trigger the shutter.
Hi there. Great writeup!
How do I save my settings? Every time I turn off power I have to retype in all my settings, brightness, automatic white wtc