
Photography has the power to capture special moments, unique landscapes, and breathtaking experiences. Whether you’re looking to improve your photography skills, or you’re simply passionate about exploring new destinations through the lens, embarking on a photography tour can be a life-changing experience. This comprehensive guide will explore everything you need to know about photography tours. From choosing the right tour, to preparing your gear, and capturing your favorite shots, we will guide you through your journey to unleash your inner photographer.
Table of Contents
- Choosing the Perfect Photography Tour
- Preparing Your Gear for the Trip
- Improving Your Photography Skills
- Mastering Shooting Techniques
- What to Do After the Photography Tour
Choosing the Perfect Photography Tour
With countless photography tours available, it can be overwhelming to find the right one for you. To embark on the perfect tour, consider the following aspects:
1.1. Theme and Purpose
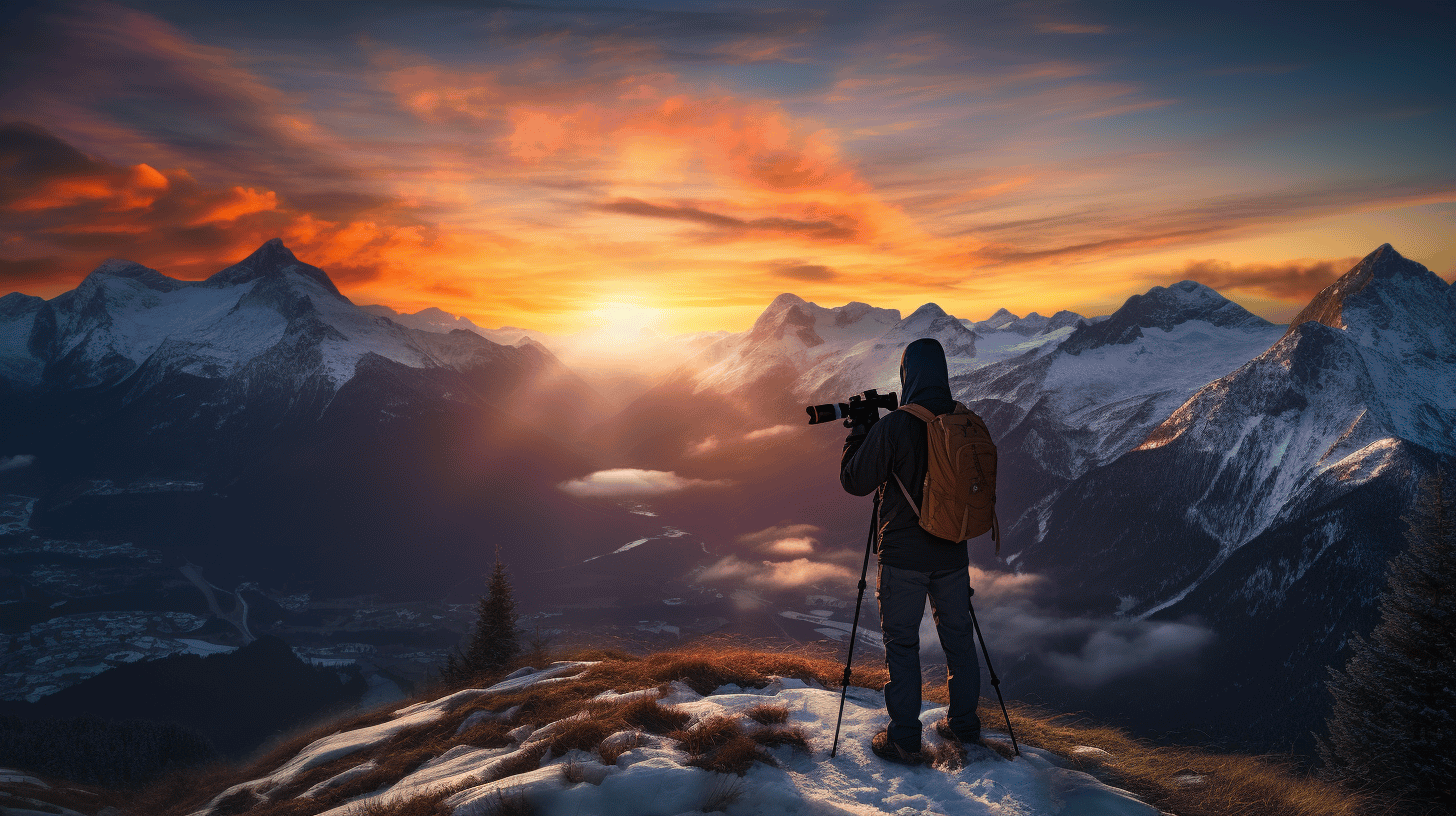
Consider the theme and purpose of the tour. If you’re interested in capturing wildlife, consider a safari tour or joining professional wildlife photographers. If landscape photography excites you, a scenic tour through mountainous or coastal regions may be the perfect choice.
1.2. Destination
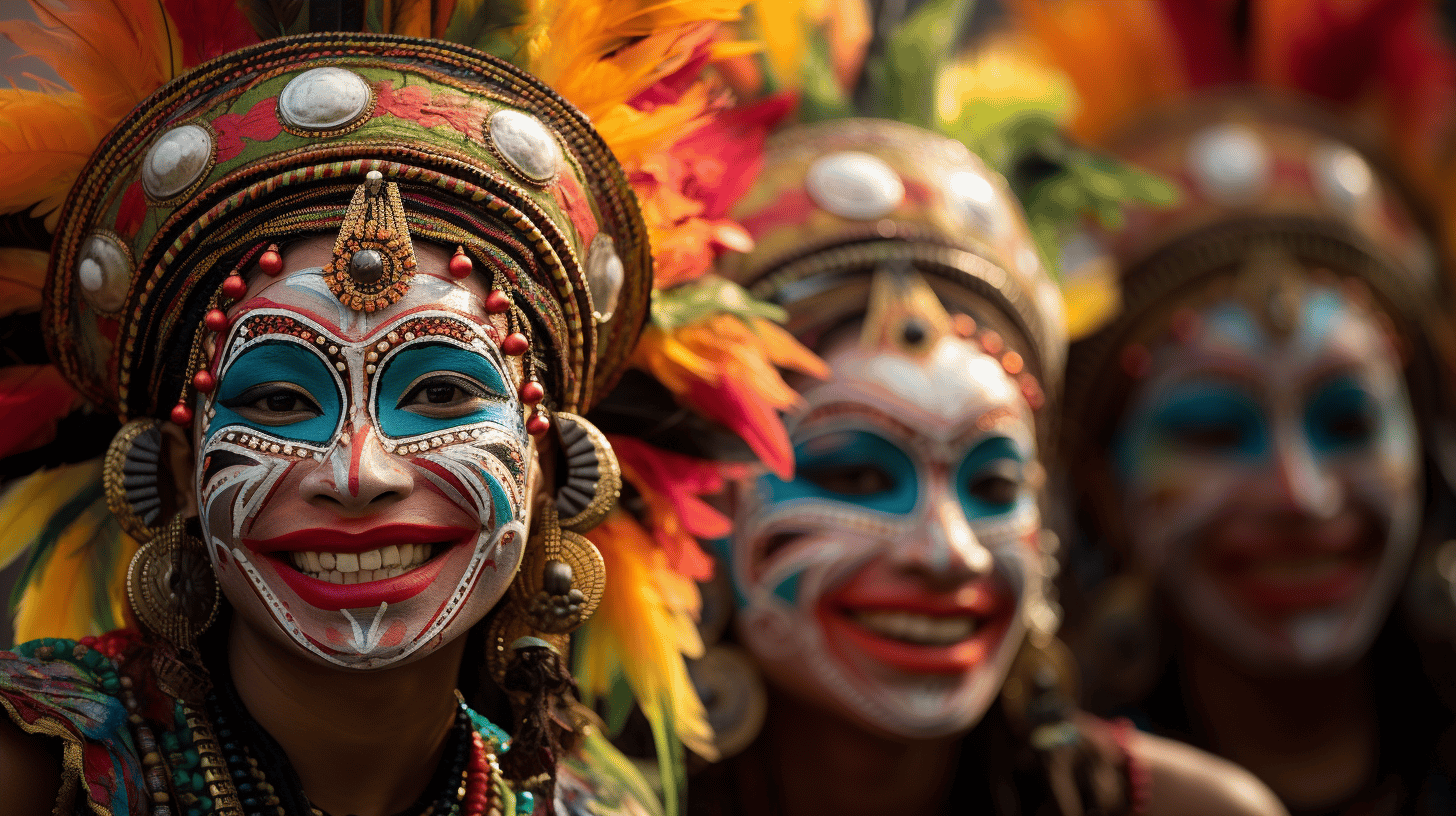
Choose a location that resonates with your interests and holds photographic opportunities. Whether you prefer bustling cities, desolate deserts, or serene forests, the choice of destination is crucial to making your tour a memorable experience.
1.3. Group Size and Instruction
Consider the size of the group and the level of instruction provided during the tour. Smaller groups usually offer more personalized learning experiences, while larger groups may offer a broader range of techniques and viewpoints to learn from.
1.4. Budget
Factor in the cost of the tour— including travel, accommodation, and meals—against your budget. Hassle-free, all-inclusive tours may be more convenient, but DIY tours offer the flexibility to customize your trip.
Preparing Your Gear for the Trip
Packing the right gear is crucial to ensuring a successful photography tour. Here are some essential items to pack for your trip:
2.1. Camera and Lenses
Bring a reliable camera, such as a DSLR or mirrorless camera, and a selection of lenses to cover different focal lengths. This will allow you to capture a wide variety of shots, from wide-angle landscapes to intimate portraits.
2.2. Tripod
A sturdy tripod is essential for capturing sharp images, especially in low-light conditions or when using long exposures.
2.3. Memory Cards and Storage
Bring enough memory cards to store all of your images, and consider packing portable hard drives or cloud storage options to back up your photos during the trip.
2.4. Cleaning Equipment
Pack a small cleaning kit, including a lens cloth, air blower, and brush, to keep your gear clean and dust-free.
2.5. Accessories
Don’t forget to pack essential accessories, such as extra batteries, chargers, a camera strap, and lens filters.
Improving Your Photography Skills
During your photography tour, take advantage of the opportunity to learn from experienced photographers and fellow enthusiasts. Here are some tips on how to improve your skills:
3.1. Experiment with Manual Settings
Challenge yourself to use manual camera settings to gain greater control over your images. Learn how to adjust your ISO, shutter speed, and aperture to create well-exposed photos.
3.2. Practice Composition Techniques
Experiment with various composition techniques, such as the rule of thirds, leading lines, and framing to create more engaging images.
3.3. Seek Feedback
Share your images with fellow tour participants or instructors and ask for constructive criticism. This will allow you to learn from others and grow as a photographer.
Mastering Shooting Techniques
Learn to master various shooting techniques during your photography tour to capture a diverse range of images:
4.1. Long Exposure
Experiment with long exposure photography to capture motion blur in waterfalls, clouds, or cityscapes.
4.2. Night Photography
Practice shooting under low-light conditions to capture stunning nightscapes or the mesmerizing beauty of the Milky Way.
4.3. Panoramas
Learn to create panoramas by stitching together multiple images for a breathtaking wide-angle view of your surroundings.
4.4. HDR Photography
Master High Dynamic Range (HDR) photography by combining multiple exposures to capture a wider range of tones and details in your images.
What to Do After the Photography Tour
Once your photography tour has come to an end, there are still many ways to continue learning and growing as a photographer:
5.1. Edit and Organize Your Photos
Use photo editing software, such as Adobe Lightroom or Photoshop, to enhance your images and organize them into collections for easy viewing and sharing.
5.2. Develop Your Portfolio
Select your best images from the tour and add them to your portfolio. This will showcase your growth as a photographer and help you attract freelance work or exhibit your images in galleries or online.
5.3. Share Your Experience
Share your photography tour experience on social media, photography forums, or with fellow photographers. This can help you connect with like-minded individuals, gain inspiration, and provide valuable insights for future photography tours.
5.4. Continue Learning
Take advantage of online resources, workshops, and photography classes to continue building your skills and knowledge as a photographer.
Embarking on a photography tour can be a transformative and enriching experience. By choosing the right tour, preparing your gear, and honing your skills, you can unleash your inner photographer and create cherished memories to last a lifetime.
0 Comments