
Mastering Product Photography: Essential Lighting Techniques for Stunning Images
Introduction
In product photography, lighting is often the silent partner that can make your images sing. A well-executed lighting setup highlights texture, shape and detail, and forges an emotional connection with viewers. This guide covers key terms—lighting setup, angles, modifiers and equipment—to help you produce captivating product shots.
Understanding Product Photography Lighting Setup
What is a Lighting Setup?
A lighting setup is the arrangement of light sources around your subject. It defines mood and reveals detail. Common configurations include:
- Three-point lighting: Key, fill and backlight create depth. See our Three-Point Lighting Guide.
- Flat lighting: Even illumination—ideal for minimal-texture products.
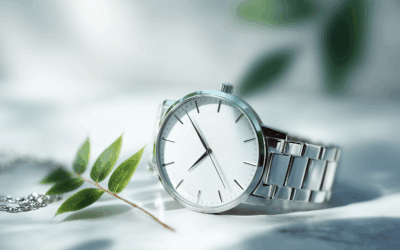
- Natural lighting: Use daylight for soft, lifestyle imagery—position near a window for best results.
Key Elements
- Positioning: Adjust distance and angle of lights to sculpt the product.
- Balance: Combine natural and artificial sources for consistency.
Essential Tools
Your toolkit should include:
- Light stands (e.g. Manfrotto stands).
- Backdrops—seamless paper or fabric.
- Light sources—LED panels, softboxes and reflectors (budget gear picks).
Exploring Lighting Angles
The Role of Angles
Changing your angles shifts highlights and shadows, altering perception. Try these:
Common Angles
- Front angle: Showcases main features.
- Side angle: Reveals depth and texture.
- Top angle: Ideal for flat-lay compositions.
Case Study
Apple often uses a front angle with soft lighting to accentuate design elegance—an approach you can adapt for sleek, modern products.
Utilising Lighting Modifiers
What are Modifiers?
Lighting modifiers shape and soften light. Key types include:
- Softboxes: Produce diffused light; learn more in our Softbox Techniques Guide.
- Reflectors: Bounce light to fill shadows.
- Diffusers: Soften harsh beams for flattering detail.


0 Comments