
Digital Film Tools DFT Rays 2 review
Introduction
DFT Rays is a plug-in that allows you to add realistic light ray effects to your images. This technique is known as volumetric lighting in computer graphics and can add a bit of polish and style to your photos. The beams of light are only added to highlight areas, so they have the effect of passing through objects and add a three-dimensional quality. Certain images with clouds or foliage are particularly suited for processing as you can add an extra dimension with shafts of light streaming through clouds or rays filtering through a forest canopy.

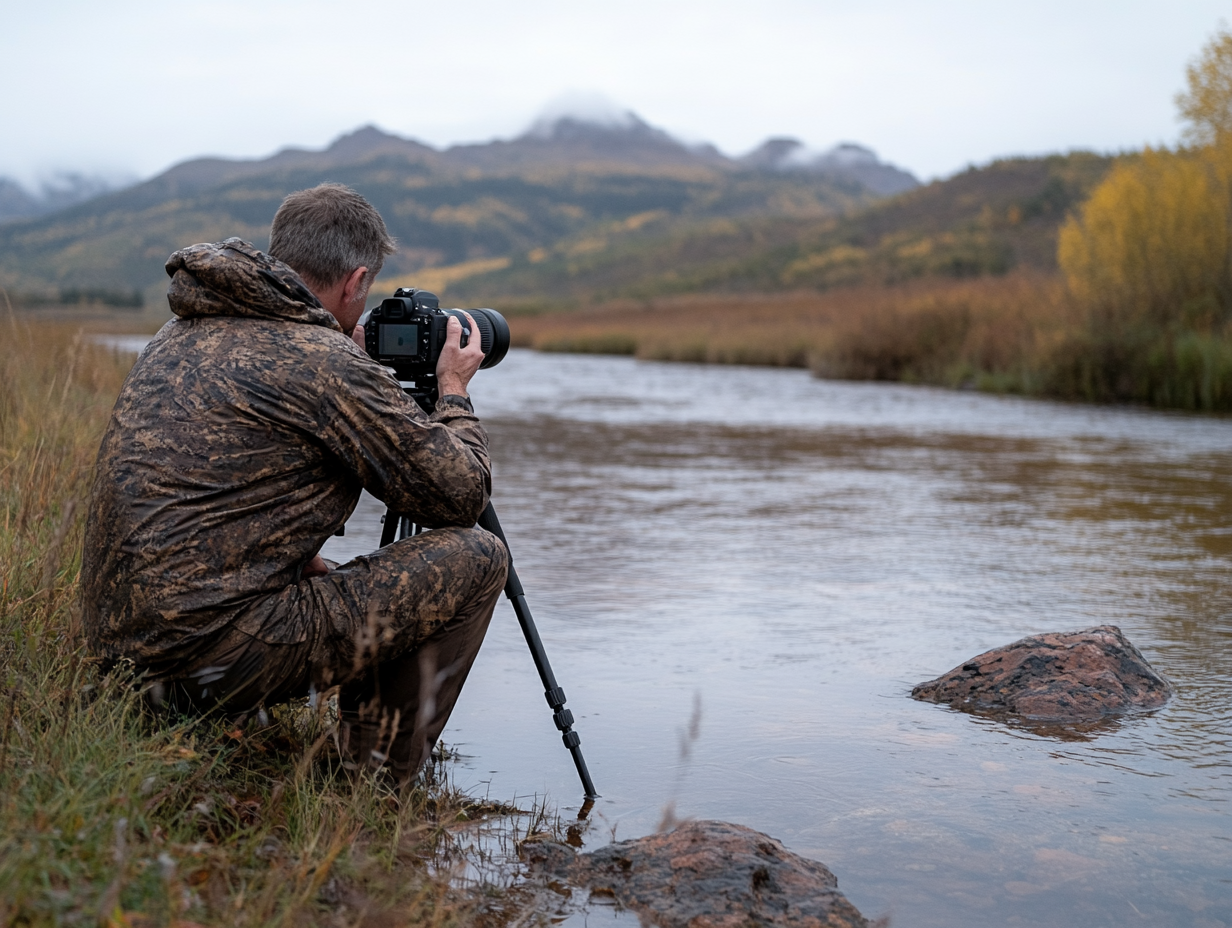
original

Edit with Rays 2.0
DFT Rays: controls
Once you open the Rays 2.0 plug-in from Lightroom or Photoshop, you’ll see your image pop up in the center area of the interface. On the right, you’ll find all the parameters that you can change using sliders. On the left, you’ll see what DFT calls the Effect Tab. This is where you’ll be able to add a mask later to change what area is affected by the rays, but we’ll get into that later.
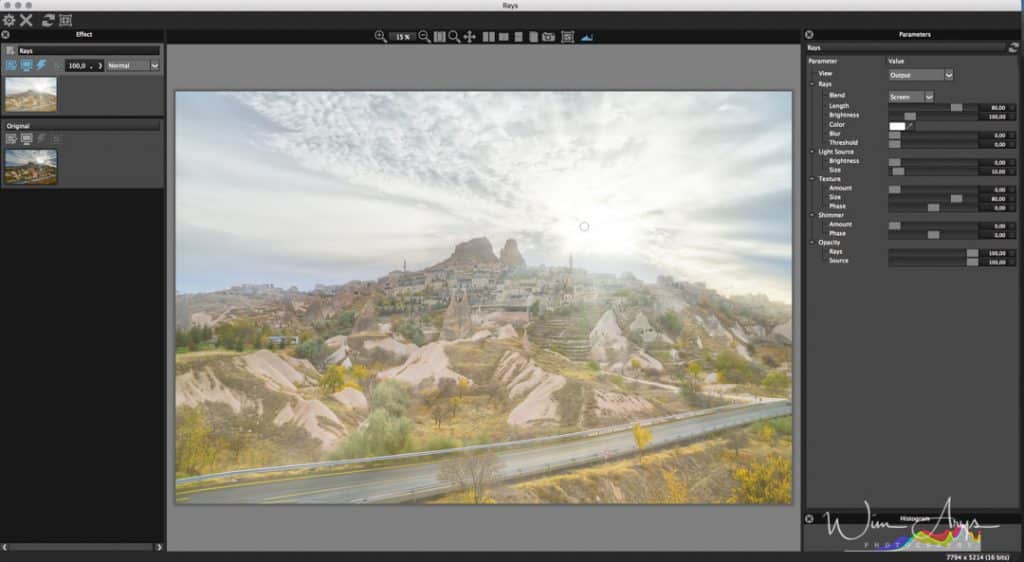
You’ll also notice a small circle on your image. You can basically drag it around to change the location and angle of your rays. See it as a small sun, and try to get the angle and location of your rays looking as natural as possible. My next step is usually lowering the threshold slider until only the brightest areas of your image are affected. Affected means these are the points where the rays will start. It’s usually handy to switch to the rays view for this (Parameter – view – Rays), so you can see what exactly is affected.
Now that we have the Rays where we want them, it’s time to pick a more suitable color for them by using the color picker tool and selecting one of the bright spots of your image. This will make them blend better with the rest of the image and is an important step. You can also change the length and brightness of the rays, longer usually works better but this, of course, depends on your image.
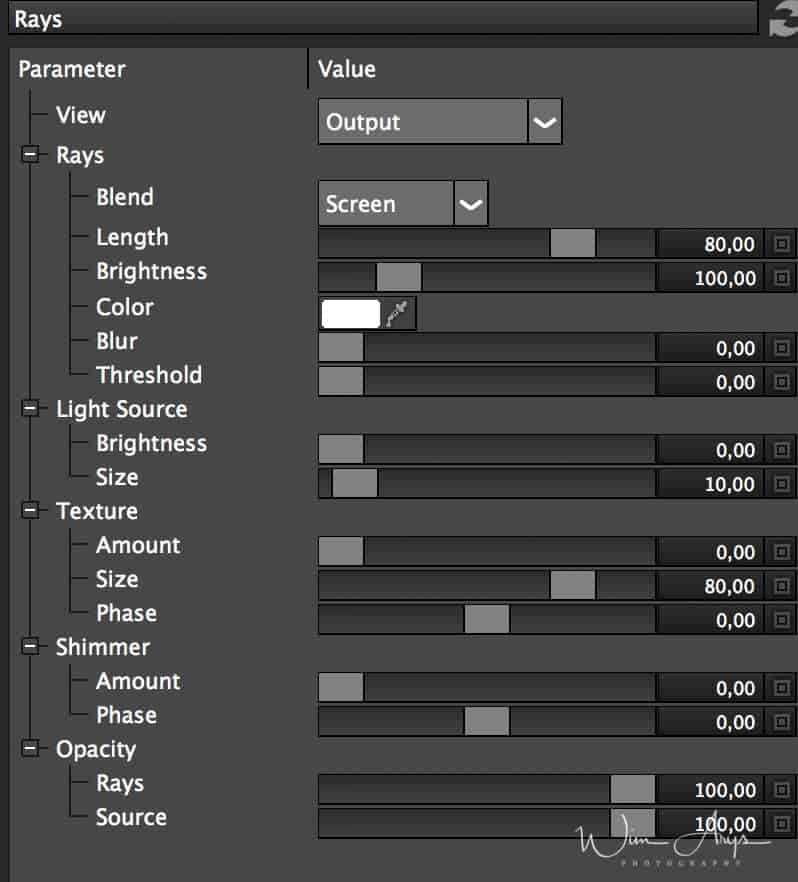
If you think your ‘sun’ is too bright or too large, you can also turn this down using the ‘Light Source – Brightness and Size’ slider. Next step is the Texturize Tab.
Next step is the Texturize Tab. You’ll be able to add some texture to the rays map here, for a more natural look. If you’d like to add a degree of movement and softness, play around with the shimmer controls until you have the look that you’re after.

original

Edit with Rays 2.0
Now before setting the opacity of the rays mask, i.e. how much of the rays layer you want in your final image, we need to take a look at masking. Masking, as in Photoshop and many other photo editors, basically uses a transparency overlay which allows you to selectively mask parts of your image. White means that you’ll see the rays in that part of your image, black means that the opacity is zero, so there will be no rays visible.
By using a mask, you can selectively add your rays to the areas that would be affected in the real world, while masking out other parts in the shadows or say someone facing the camera where you’d expect the rays not to hit the front of the faces and only affect the background. DFT Rays 2.0 has many different masking options like gradient, Spot, path, snap, selection or even a basic paint brush with opacity and hardness control. I mainly use their EZ mask technology, where you can select what you want to keep or cut with a few strokes of a green and red.
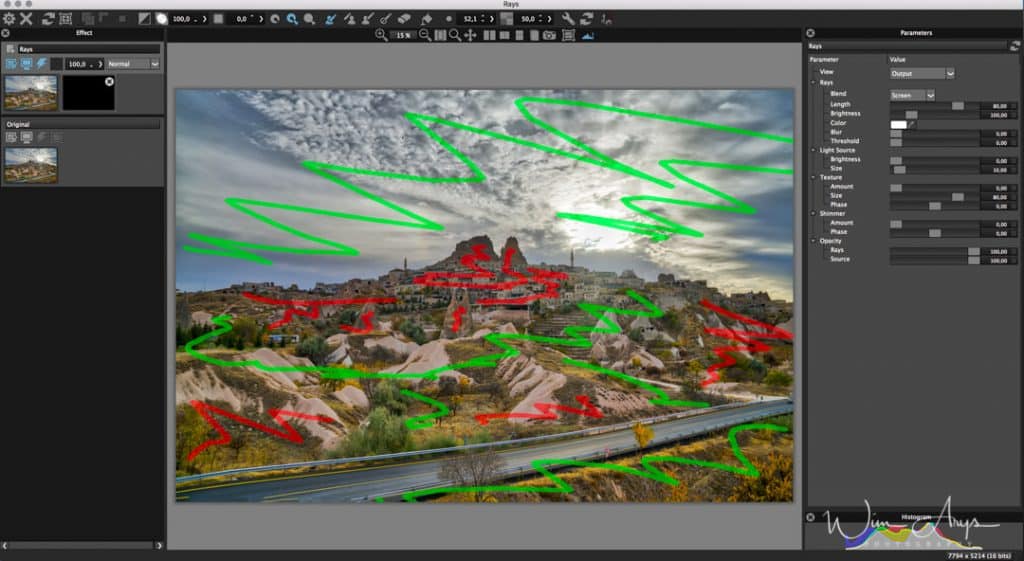
EZ masking first step. Green signals keep, red signals cut. EZ Mask will then automatically compute what to keep and what to cut.
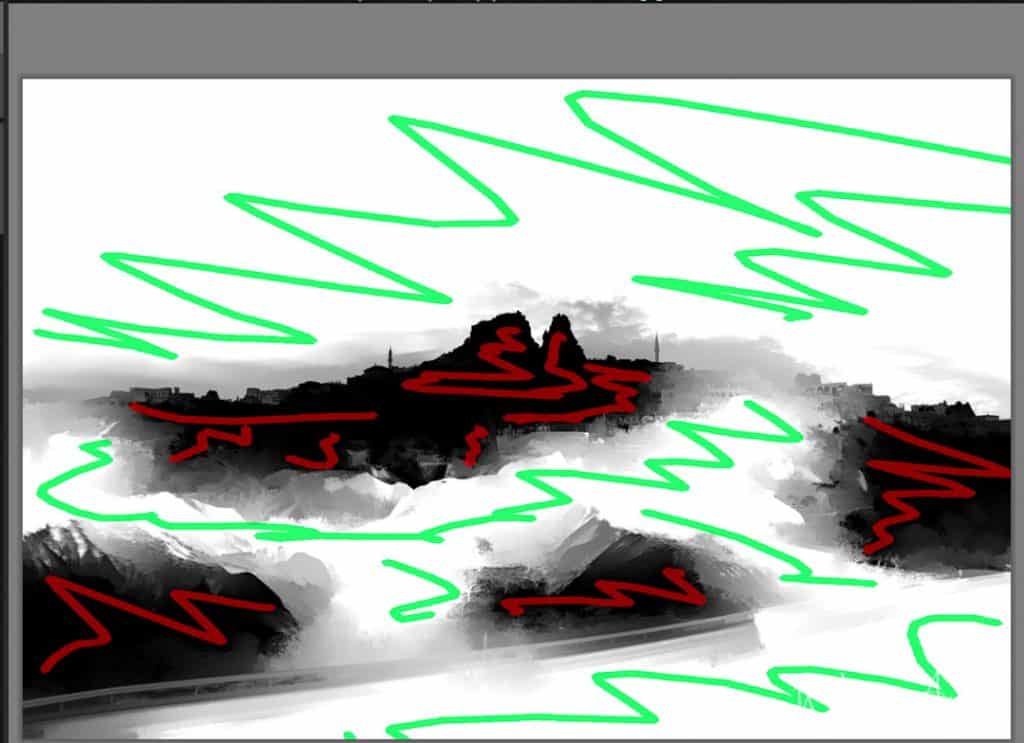
Final mask computed with EZ Mask
I mainly use their EZ mask technology, where you can select what you want to keep or cut with a few strokes of a green and red brush and let the software compute a complicated mask for you. This works as good as any other auto masking software I’ve used and gives the best final result.

Edit with Rays 2.0

When the masking is done, In order to finalize your image, go back to the Opacity slider and adjust the level of rays according to your liking.
Conclusion
If you’ve ever felt the need to add rays or shafts of light to your images, DFT Rays 2.0 is the right plug-in for you. With advanced editing options including direction, texturize and shimmer controls, you’ll be able to get realistic and stunning results in no time.

Thanks to the EZ masking technology included, it’s a breeze to selectively add these rays to your photos with minimal effort and add an extra layer of polish to your photos. Besides a standalone version, it’s also easy to use straight from Lightroom or Photoshop thanks to the plug-in extensions.

original

Edit with Rays
Rays for photos (there is also a film version) costs $50 and is available directly through their website.


0 Comments